|
|
| Chainsaw blades! |
Page 1 | 2 | 3 | 4 | 5 |
 Back to part 3 Back to part 3
Update 3rd Dec 2009 from forum post
http://www.thebackshed.com/windmill/forum1/forum_posts.asp?TID=2177&PN=1
It's been some time since I did the original story on making your blades with a chainsaw.
Since then I have had emails from people who did not quite understand how to do it step by step. Even though Imsmooth and Niall and others have video's on the web, it seems to not be enough... so I have decided to do a step by step story on these blades.
It also gave me an excuse to see if better ways of doing things could be uncovered.... so here goes.
I will preface this by saying that you can make a well twisted/tapered blade to whatever spec you can dream up with the blade calculators on the web, (see Nialls and Imsooth's video's) but my experience is different to what I had expected.
The first set I twisted as much as the wood would allow (for 8x2"), and made the taper roughly follow the line of best fit... but similar to the blade calcs with an eye to the constraints imposed by the timbers dimensions.
In short, a simple version of as close as I could easily get to the blade calc.
I have since changed my mind after mindless hours of watching the mill.... I call it therapy... my wife calls it stupid... I am fortunate that my winds are so good and the exposure so good that it is still at ground level.. so easy to tinker with and watch endlessly.... and still easily do 3kw in mid winds... around the 30 mph range.
I have decided to throw the calculator out the window, and design a woeful blade. I did not want a blade that was perfectly tuned to a specific TSR. It is rare to run at that TSR driving a battery bank anyway.
I wanted a mongrel, that would perform well at any reasonable wind speed, especially lowish ones, and could not care about the high winds... not a thoroughbred....
I turn it off in high winds. I wanted it poorly tuned to any specific TSR, but able to operate with different parts of it at different wind speeds.
So it was wider at the tips than the chart said, it was thicker in the chord than was correct, it had only slight twist, maybe only 10 degrees at the root, and 5 at the tips, and the taper straight from the tip to the hub area (about 400mm from the butt in my case).
I was after more torque down low, more profile nearer the tips. and more chord.... and a soda to build. I can make a full set in about 2.5 hrs ready to sand I didn't sand them because they were too wet with resin... sand paper doesn't work then. But the design is so simple, the planer finished them near perfectly anyway.
This will take up some of Gizmo's bandwidth.... sorry. 
Note, with regards to measurement.... not many people want 4m of blade, so you will have to work out the measurements for your blade size anyway, but you should get the gist of it. |
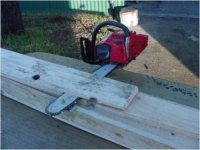
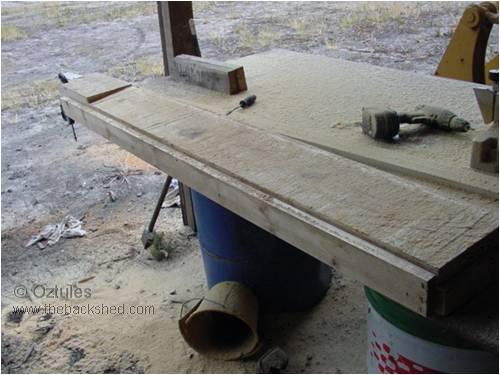
| First.... we get the essentials. A saw, chainsaw, chunk of forest, the power planer and the grinder with flapdisk (this will sort of sand resin soaked wood) and other assorted knick knacs... like a tape measure perhaps.... |
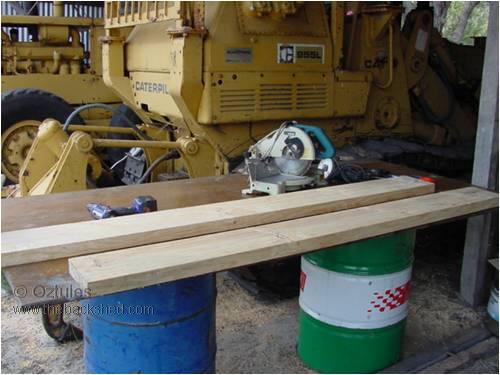 |
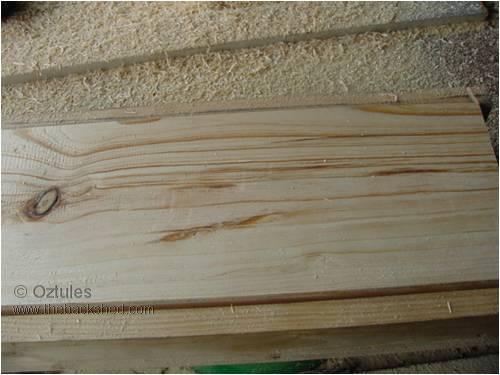
Most other folk will buy properly dried, dressed timber, and select the best at the shop without knots.... I got a chap on the other side of the island to hack some 8x2 pine with instructions to try and get reasonably seasoned knot free stuff.. you don't always get what you ask for over here, but it is wood.... the similarities end there.
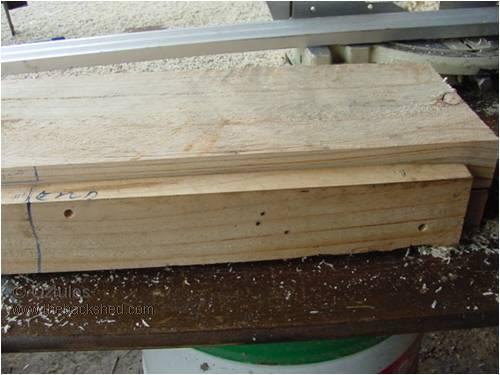
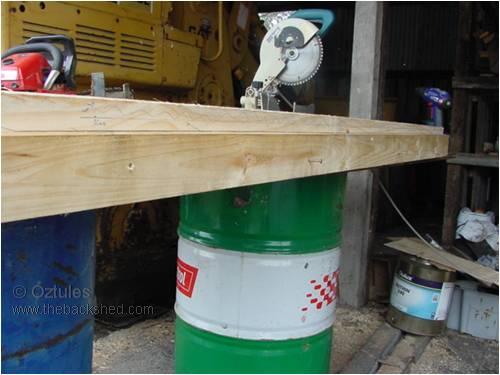
Any way, dock the end square: |
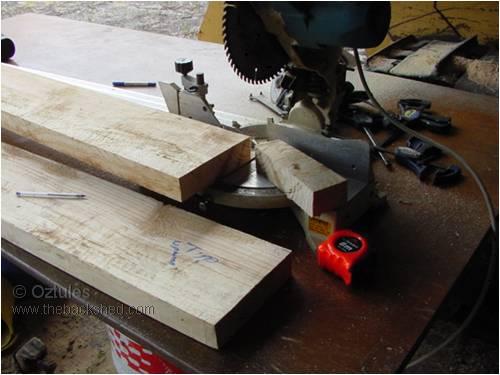 |
Make at least both of the edges clean and straight... we need to draw on them to make the jigs, and one side will be the leading edge.... so straight is nice. |
 |
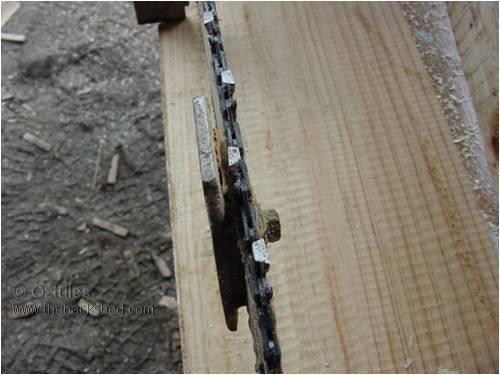
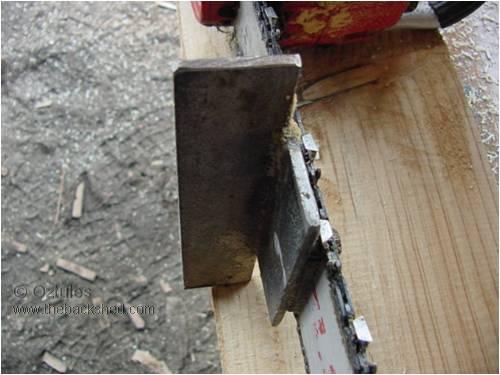
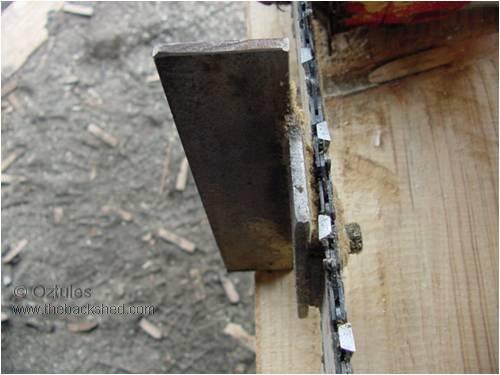
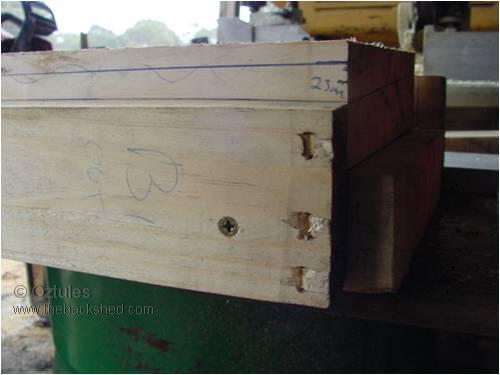
| We need to have made our blade modifications by bolting on two slides to the blade like these: |
 |
| |
 |
| |
 |
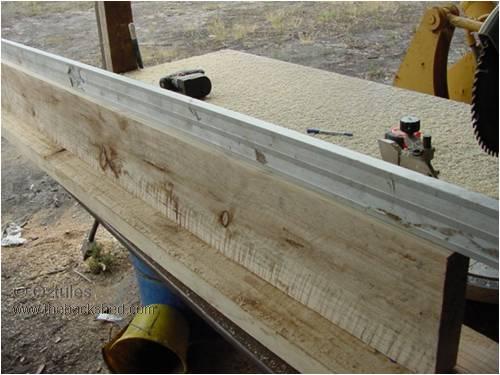
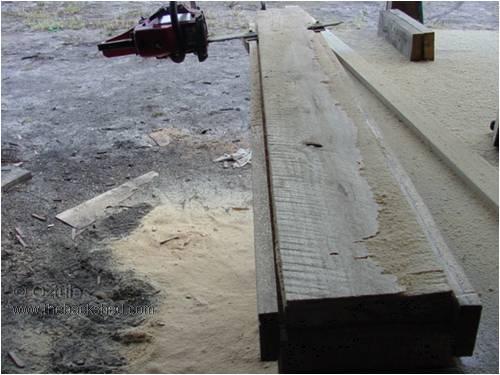
I use another 8x2 undressed... so it is slightly wider than the dressed one to use as a base plate to build the jig on.
Grab some straight 3x1" ... mine was from an old packing crate, so I had to true it up first with the planer... it must be straight on the top. It will be screwed to the side of the base plate 8x2 such that it will leave a gap to the top of the blade blank 8x2 that is the equivalent to the cut depth you have made the slides on the blade for... plus how much meat you want to cut off.. It helps to do a dummy cut on some spare 8x2 to establish this measurement...
Note the base board, the blade timber, and the side jig timber: |
 |
Mine was about 8mm. This means that where ever the side timber is, the blade will cut 8mm above this.
IMPORTANT!..............................................
Your chainsaw may be a bit ratty like mine with an old cutter bar and chain. With this in mind, you may do well to leave 2-3mm more meat behind than the proper figures suggest....Mine ... well you can move the chain teeth about 3mm side to side.. so 8mm + 3mm safety=11mm above the cut line..... keep this in mind for the remainder of the story.
It doesn't look it, but the line is the same all the way, so the blade will just graze the 8x2 on this side.. and yes it's raining yippee!!....
Hee hee... just graze... not really. In my case, the wood is rough cut and not straight... so I will be gnawing into the face a few extra mm to get a true straight /flat face... ie I can't rely on the wood to be true.... especially three times in a row. Some will be 52mm, some 48mm and some 50mm. So I will be removing more than is traditional for the face. Normally the leading edge will be the top corner edge of the timber. |
 |
Now for the other sides timber to guide the slide on the chain saw.
Here, we guess how much angle we want. I wanted the tip to drop across the 8" by about 10mm. I don't know how many degrees that is, nor do I care, but it felt about right. I hadn't really decided on the tip width yet

That being the case, and pruning that extra bit we talked of, the easiest way to define the guide top is ... same as the other side, less 10mm.... whatever that turns out to be. (ignore the scribble on the wood) |
 |
Now this line drops to twice the 10mm drop at the hub end. Note Hub end for me is 400mm out from the actual end of the blade. So I should say 400mm in from the hub end, we want the guide to be 20mm lower than the leading edge side.
I start the profile about 400mm in from the hub end. This gives plenty of meat to mount the thing, and the power available.. despite the outlandish blade calculator sizes here.... is pitiful, and not worth chasing.
Go for strength .. it pays bigger dividends. So, the blade profile part makes up only the outer 1.6m of the 2m length.
It will look like tapered like this:... so you can now screw on the second side guide. (10 mm lower at the tip end than the leading edge side, and 20 mm lower at the 400mm in from the hub end. |
 |
Now, we want to stabilise the blank in the jig. I just use some long wood screws, and screw the jig to the blade blank. I use 2 on the leading edge side (one each end) and one on the trailing edge (second guide we put on) in the center.
This is better than clamping it down, as it holds it in space/suspension, rather than relying on the timber to be straight or the three blanks to be of equal thickness. After the first cut it won't matter as we will have effectively thickness-ed it anyway.
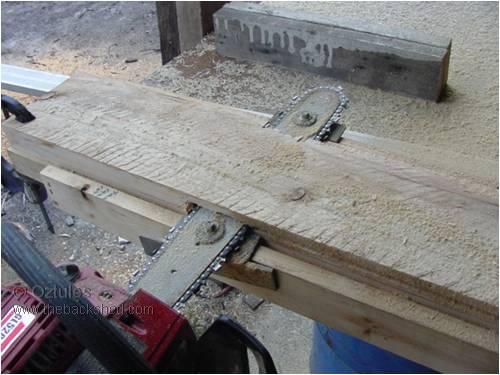
Ok, were ready to fire up the chainsaw and go for it. It is simple, place the saw slides on the guides, and go. For these blades in radiata pine, it takes about 3 mins to do the whole 1.6m. Use sharp blades, well tensioned or they will wiggle around a bit and take out more than you expect.
AGAIN:
The chain links inners can wobble about in the cutter bar guides. A new cutter bar and blade would be nice. These have done 4 years of fire wood, so you may like to offset your calculations by a few mm of insurance to allow for poor blade performance.
So 3 mins later we have made the leading face of the blade like this: |
 |
| and this at the 400mm end point (hub end) |
 |
| or looking at our work so far.... like this: |
 |
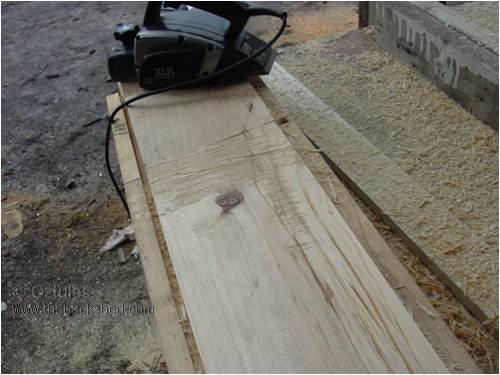
| About 3 minutes with the planer and we can get this. It is quick because it is a flat face for our purposes. |
 |
| and the hub end will be like this: Notice the drop off is planed as well... by going across the grain.. tut tut. |
 |
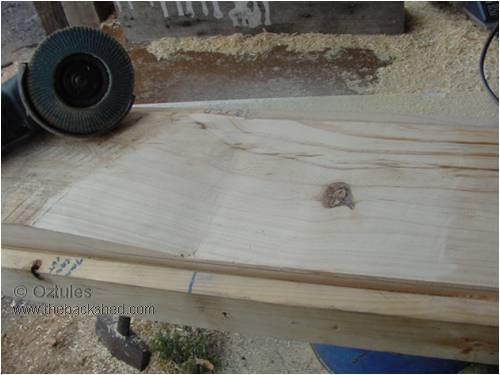
| and a good 30 seconds with the flap disc grinder, and we are virtually there. You can see once you have the jig, it is only a ten minute job to do half a blade... not bad. |
 |
| |
|
|
|
