|
|
|
|
Site Navigation
Projects & Information
»General Information»Wind turbine Projects »The F&P Smartdrive »Electronic projects »Microcontroller projects »Miscellaneous Kits & Parts
»Basicly Natural Pty Ltd»PVC & Aluminium blades »Scale model farm windmills »Price Watch Discussion Forums
Handy Links
»Wind»Solar »Electric Vehicles »Electronics »Micro Controllers »General Interrest About TheBackShed Getting Started Privacy Policy |
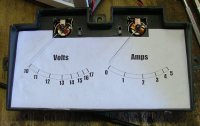
With the circuits built and tested, the next step was to replace the meter scales. After removing the plastic cover, and been careful to not bent the meter pointers, I removed the old meter scale. It was held in place with some little glue, and easily came out when I lifted it up in a couple of places with a small screwdriver.
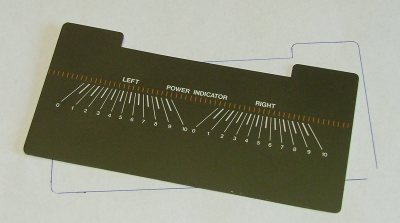
With the scale out, I traced around it to make a paper template. If the scale on your meter doesn't want to come out easily, best to leave it in there and make a paper template through trial and error.
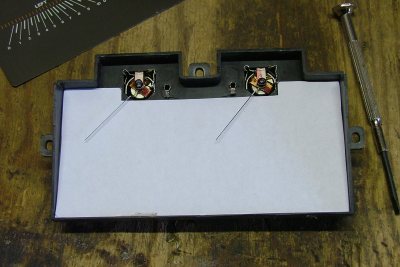
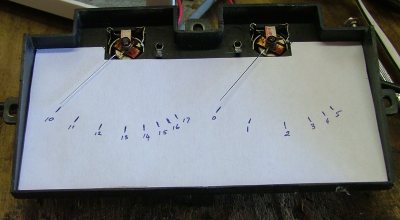
I cut the template out and slid it in behind the pointers, making sure it didn't interfere with the meter movement. I also very carefully painted the needles with black ink to make them stand out against the white background.
I then went through the process of applying different voltages and currents to the meters, marking the scales with a pen as I went. It was at this point I discovered the meters didn't have a linear response across their scale, you can see the numbers to the right are getting closer together. This isn't a problem though, and wont affect the accuracy of the meter as I'm making my own meter scale.
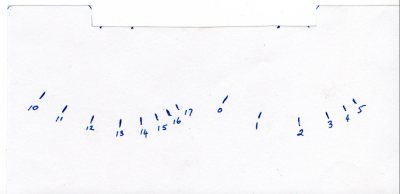
Once finished, I scanned in the paper template into a paint program. I use Paint Shop Pro ( no longer available, but a favourite of mine ), but you can use just about any paint program.
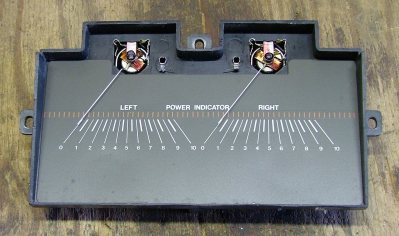
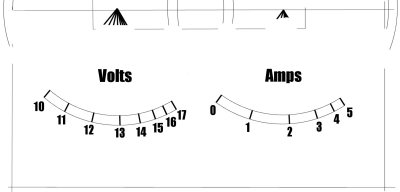
With Paint Shop, I added a new layer and used that to draw the new scale over the old one. I wont go into the details, everyone has their own way of making scales and the final look they want. Once you have finished drawing the new scale, turn off the original layer ( the original scanned scale ) and print out the new layer.
If your paint program doesn't have support for layers, another way to draw over the original scanned scale is to adjust the contrast and brightness until you can just barely see the image, then draw your new scale over the faded image. When you have finished, adjust the contrast and brightness even further until the background image is gone, and then print. A quick tip: Set your scanner AND printer to 300dpi. That way the printout will be the same size as the scanned image. |
||