
|
|
Forum Index : EV's : 4 wheeler to EV
| Author | Message | ||||
Trev Guru Joined: 15/07/2006 Location: AustraliaPosts: 639 |
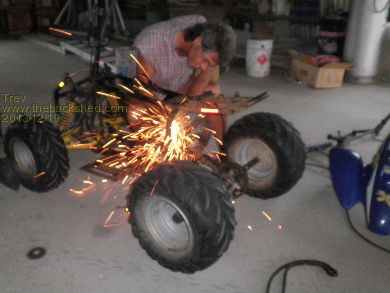
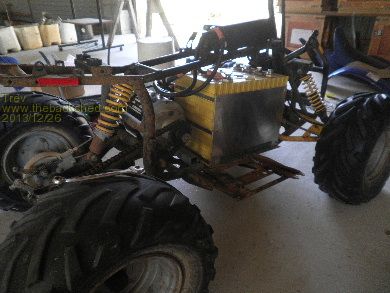
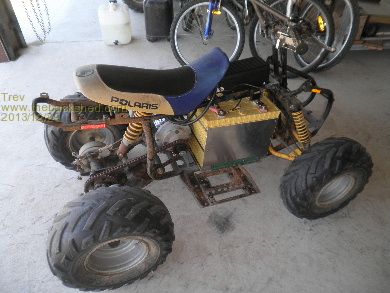
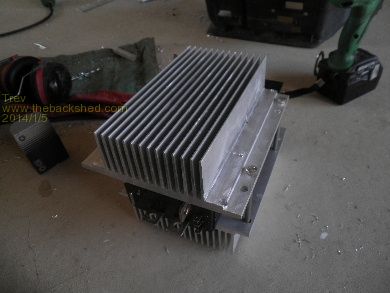
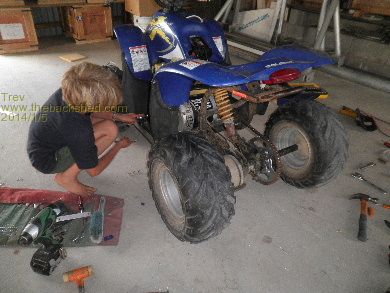
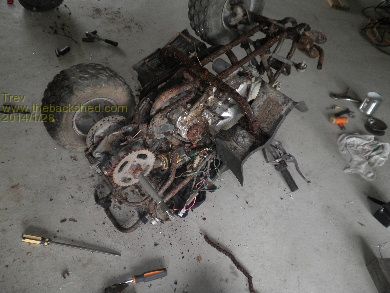
Converting a 4 wheeler motor bike to electric drive has been on the cards for a very long time. Dale (son) and I bought a Polaris Scrambler 90cc many years ago. I also bought the 12v speed controller many years ago, which would be around the time I took out the 12v motor that used to drive the power steering and air conditioner in my EV Hilux. The plan was that this 12v motor would be the drive motor for the 4 wheeler. Today we started stripping the scrambler. Some great Dad and Dale time together. Though this is nothing new, we do a lot together. Dale is great on the tools. Spanners, sockets, impact wrench, and so on. I will wait a little longer before I let him on the grinder though. We pushed it outside to gerni it all clean. Then back in to work out all the positions of components. Some brackets that will not be used were in the way for mounting the motor, so they were cut and ground off. 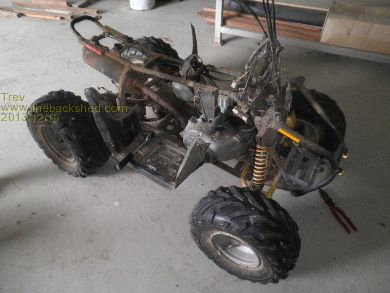 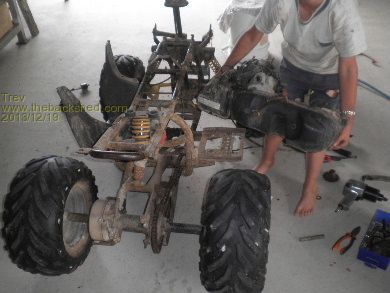
Trev @ drivebynature.com |
||||
| Gizmo Admin Group Joined: 05/06/2004 Location: AustraliaPosts: 5012 |
Nice work Trev and Dale, looks like a fun project! Keep us posted on how it goes. Glenn The best time to plant a tree was twenty years ago, the second best time is right now. JAQ |
||||
| Trev Guru Joined: 15/07/2006 Location: AustraliaPosts: 639 |
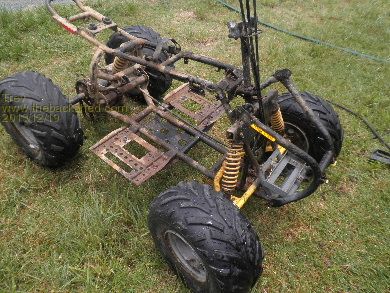
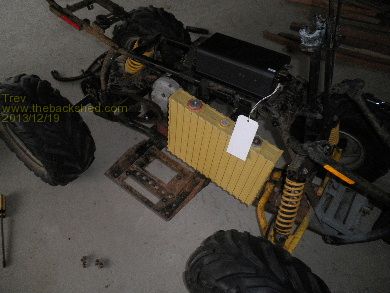
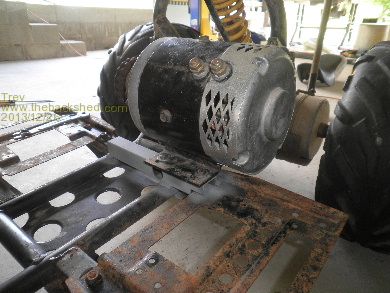
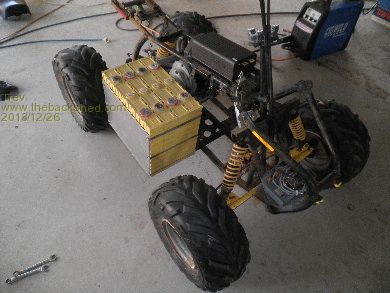
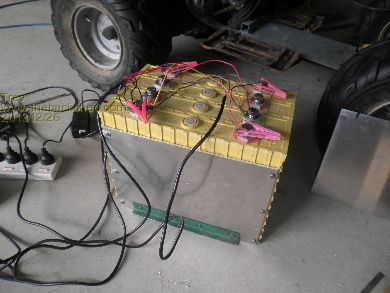
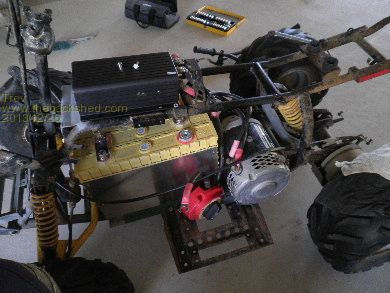
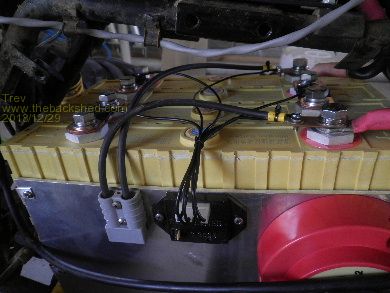
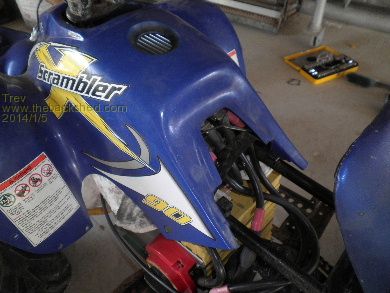
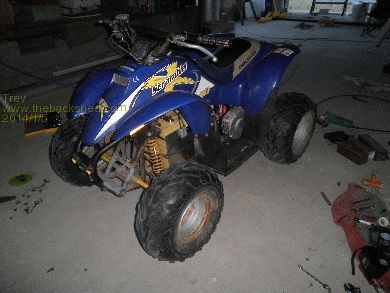
In between work, extended family, and other activities, we continue our little project. Hope everyone had a great Christmas. First up was to get the motor mounted. The motor had to sit out a little into the foot rest area so the sprockets and chain lined up. The front mount was quite simple. Just welded a piece of box tube across the 4 wheeler frame for motor to sit on, bolt to. The back one had to be cut to mould into the 4 wheeler frame on an angle. All good, painted and bolted in the motor. Then it was on to the battery pack mounting. This was quite simple. The frame had to be leveled off some and fitted with a flat bed to sit the battery pack on. The flat galvanised sheet was welded to the 4 wheeler frame. The angle at the bottom of the battery pack, screwed to the side alloy strapping plates, simply bolt through the foot rest frame. With that sorted, the cells were then set up for charging and balancing. All cells connected in parallel and charged with 5 x 3.7v chargers, giving 20A charge rate. These cells are 260ah. The speed controller was bolted to the 4 wheeler frame where the fuel tank used to be. To start with we had the terminals facing forward, but just couldn't get the cables to work neat enough. I am using old cables that came out of the EV Hilux. Ended up removing an old fuel tank bracket, and turning the speed controller so the terminal face backward. The problem with terminals facing backwards was that the seat has to mount under the steel strap there on the frame. The cables had to be kept back from that seat bracket, but worked so much better. The seat still works. No new cables were made. All the high power cables are connected. The dual battery switch is used as precharge through a resister on "number one leg". On "both leg" and "number 2 leg" the high power can flow. The switch is rated for 300amps continuous and 400amp max intermittent. It should handle it. The speed controller is 400amp, but should not need that much to get the 4 wheeler rolling.  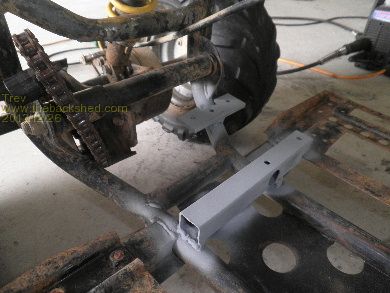

Trev @ drivebynature.com |
||||
| Trev Guru Joined: 15/07/2006 Location: AustraliaPosts: 639 |
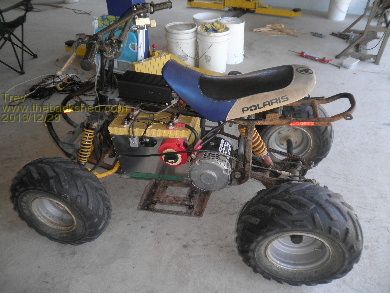
Finished off the control wires to the speed controller. Mounted the pot box on the handle bars and made an alloy thumb peice. Fitted a Relativities active balancing circuit. Fitted an anderson plug for charging. Went for a test drive. It drives ok but very sluggish on take off and acceleration. As thought, the gearing is to high. I need a larger sprocket on the axle and maybe a smaller sprocket on the motor as well. It drives quite fast with very little throttle. The sprockets have been removed ready to go to town, next time we are going, so we can look for suitable sizes. 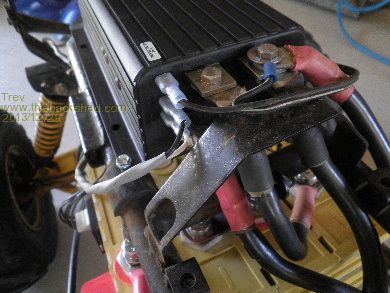 

Trev @ drivebynature.com |
||||
| Trev Guru Joined: 15/07/2006 Location: AustraliaPosts: 639 |
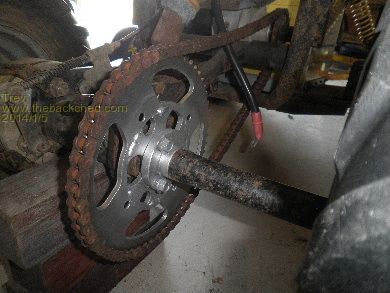
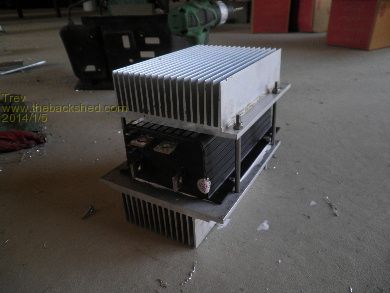
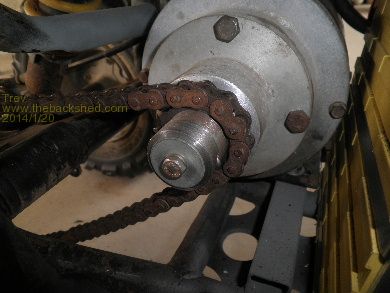
Got a new sprocket for the rear, 56 teeth. It was the biggest they had in the shop that I went to. That is close to 3 to 1 ratio. I machined the teeth off the old small sprocket so it was a tight hammer fit in the centre of the new sprocket. Mounted it on the rear axle of the 4 wheeler to make it run true. Tack welded in 4 places and then removed to weld each section. For the chain, the shop didn't have any chain that size, so temporary I have added in some old mower chain I had lying around here. We have added heat sinks to the sped controller as well. I have about 30kg of heat sinks I got for scrap price and so worked out how to fit 2 of them. The bottom heat sink had to have 2 fins removed so it would fit between the 4 wheeler frame. Checked out the positions and set about mounting it all together on the floor. The bottom one had to be offset to the top one. Then mounted it back in the 4 wheeler. It is higher and further toward the front of the 4 wheeler so it would fit under the plastic cover. With it all secured, I took it out for a test ride. Better than before, I did about 2km. Got it up to fairly high speed for a little bike. Acceleration though is very sluggish still. Too much load with not enough motor RPM, the speed controller won't allow full throttle. Dale took it out for a spin. Went better with the lighter body on it. He rode across the farm to my sister's place, about 2 km one way. Rode it around their rally track. And back home again. I followed on my big Polaris Scrambler 500cc. The gearing is still not right. I need a smaller sprocket on the front, and maybe yet bigger sprocket on the rear. The speed controller did not get too hot, the heat sinks work a treat, just need to get the gearing set up right.  
 
Trev @ drivebynature.com |
||||
| Trev Guru Joined: 15/07/2006 Location: AustraliaPosts: 639 |
The battery voltage was 3.32v per cell when we left to go to my sister's place and was still 3.32v per cell when we got home. It will be interesting to see just how long it will run for. We then set about getting all the covers back in place. Dale has a very good memory of what goes where and with what bolts. Some new bracketing made along the way and other improvising to hold the covers in place better than they were before. The speed controller top heat sink had to be cut a little on the top back corner to fit under the front cover. The rear cover, left mud guard, had to have a very small piece cut from it to fit around the motor, and the black foot guard had some cut from it also to fit around the motor. Dale loves the hands on stuff. 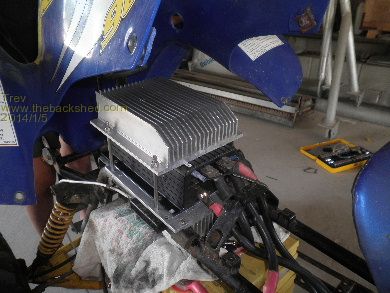 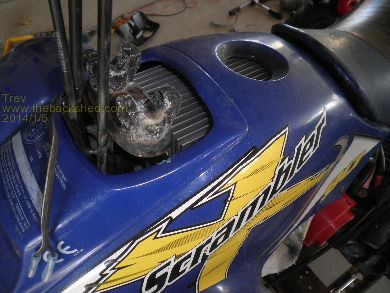
Trev @ drivebynature.com |
||||
| Tinker Guru Joined: 07/11/2007 Location: AustraliaPosts: 1904 |
Interesting refit Trev, thanks for posting it. With regard to your chain sprocket dilemma, I think your rear sprocket is about as big as you want it, any bigger and you might run into ground clearance problems. What you might consider to get a better than 3:1 ratio is to fit a lay shaft with, perhaps,a 2:1 pre reduction. This will give you 6:1 overall which should do the job. Klaus |
||||
| Trev Guru Joined: 15/07/2006 Location: AustraliaPosts: 639 |
We changed the front sprocket to a smaller one, 13 teeth. It had spline on the inside, which I machined out so it would slide onto the motor shaft. Being a very hardened sprocket, I did not attempt to cut a keyway into it. I made up a small boss that is screwed to the sprocket. To be held on the motor shaft, an extra peice had to be made that fitted over the head of the screws. This made a ratio of 56:13 or 4.3:1. The acceleration was much better, and very reasonable. Dale has had a lot of fun riding it around. Tinker, the double reduction was already on the cards, and is now in progress. I will post more on that later.  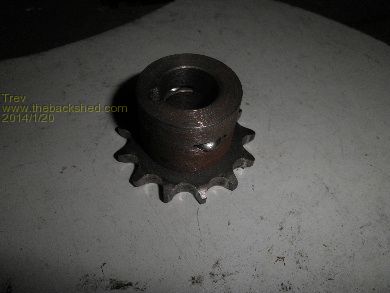
Trev @ drivebynature.com |
||||
| Trev Guru Joined: 15/07/2006 Location: AustraliaPosts: 639 |
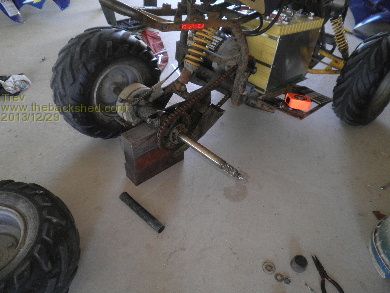
We had this old bike lying under a tree for some time. Looking and thinking, we decided to strip the wheels (Dale wants another trailer to tow behind the electric 4 wheeler) and the sprockets for adding to Dale's 4 Wheeler. 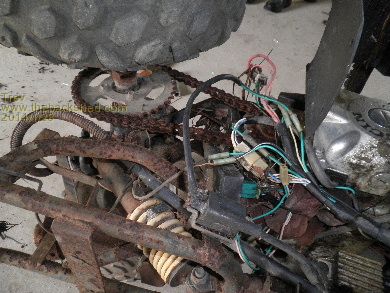 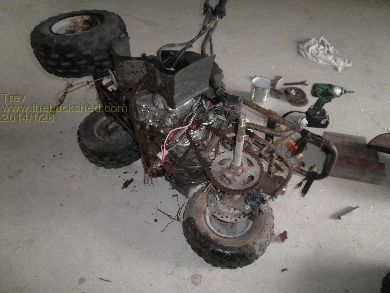
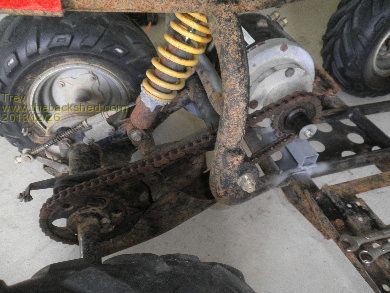
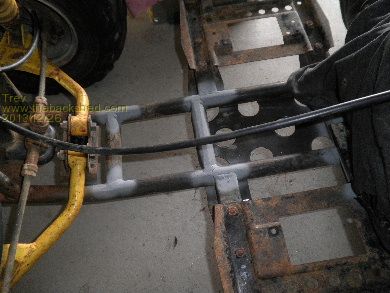
Then it was to thinking how we can make the sprockets work. This was a very tricky little exercise, and after testing different ideas, we came up with an idea that worked. A bit of machining, to hold it all together and bolt it onto the rear swing arm. We finished this last Wednesday night and took it out for a test run. The gear ratio is now 13 teeth on the front to 37 teeth and then 14 teeth to 56 teeth. That's 11.38:1 ratio. We have cut the top speed quite a bit, but increased the torque on the back wheels and now has no problem climbing up the hills. Acceleration is great!  
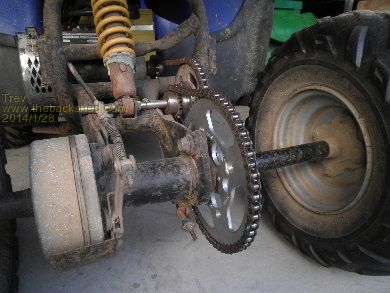 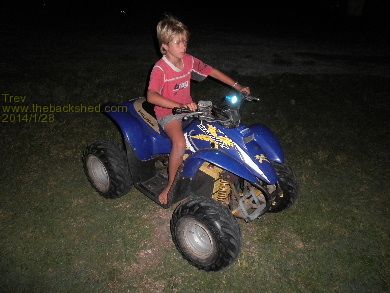
Dale has been riding it around quite a lot. Today we take it out for some pictures of spinning the back wheels. 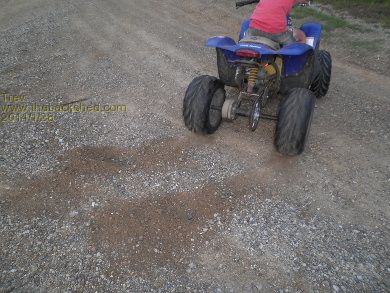 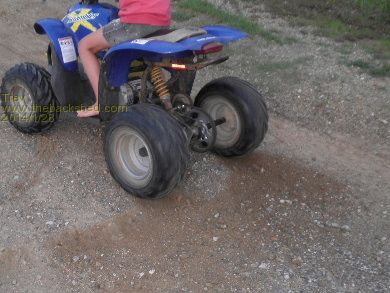
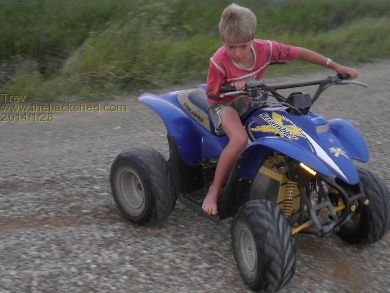 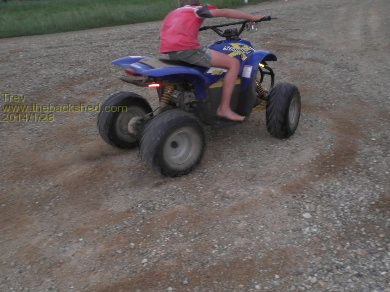
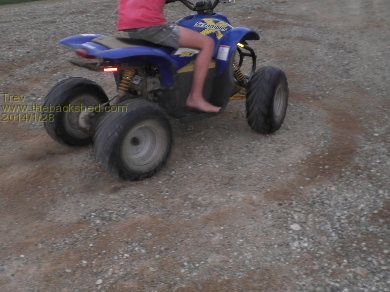 
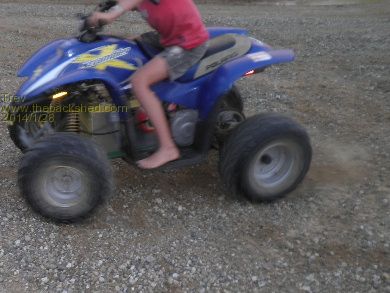
Trev @ drivebynature.com |
||||
| VK4AYQ Guru Joined: 02/12/2009 Location: AustraliaPosts: 2539 |
What a fun machine and a good learning tool for Dale, Top Marks Trev. Foolin Around |
||||
| Trev Guru Joined: 15/07/2006 Location: AustraliaPosts: 639 |
Dale has outgrown this bike. And built another one for himself. https://www.thebackshed.com/forum/ViewTopic.php?FID=15&TID=11904 Dale had racks front and back. He also fitted winch and spotlights. But he had them off before I got the pictures. Dale stripped it down and cleaned it up.  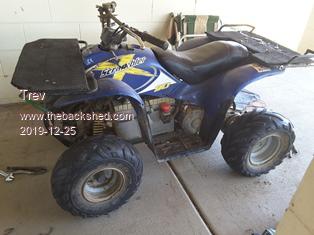   This bike is still in working condition. Anyone interested in buying it?  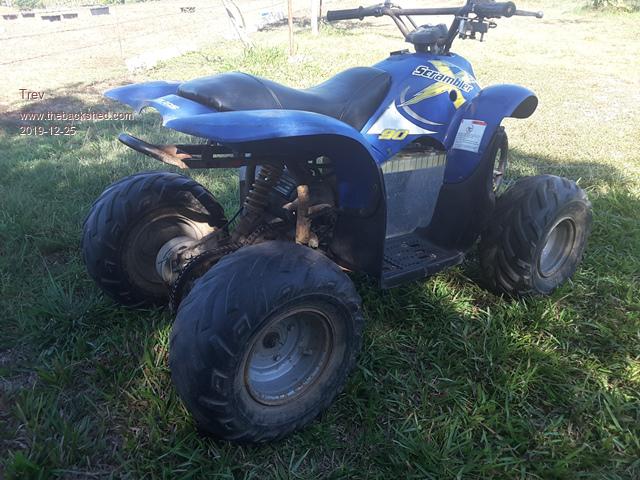  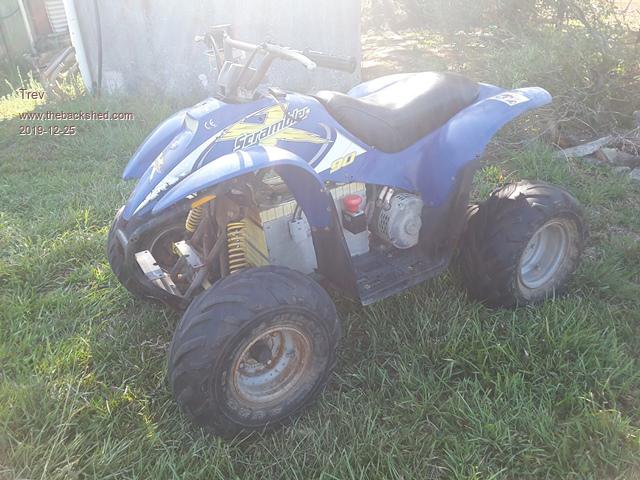 Trev @ drivebynature.com |
||||
| Trev Guru Joined: 15/07/2006 Location: AustraliaPosts: 639 |
This quad bike sold for a few kilo's of fish. Trev @ drivebynature.com |
||||
| pollenface Regular Member Joined: 01/09/2020 Location: AustraliaPosts: 41 |
Awesome project, I love the regearing with the shaft going through the rear shock pivot. Off grid man caver |
||||
