Home Page
  Home  |  Contents  |  Forum
Print


How to improve those cheap Chinese blades Page 1 | 2 | 3

Back to Part 1

Here is the assembled hub on the windmill. The hub was designed to make changing the blades angle easy, using two U-bolts per blade. Each blade is on a blade extender, a lasercut plate welded to a 19mm length of steel rod. Each rod has a stop at its end ( a lump of weld ) so the if the U-bolts come loose, the blade wont become a missile.
I have heard about the fibreglass blades cracking around the bolt holes, so I cut some packers out of core-flut ( plastic cardboard ) to go between the fibreglass blades and steel blade extenders. In hindsight, this isn't good enough, and next time I'll cut them from some dense foam rubber.

Here is the finished hub on a jig to hold it level. I use this jig to make sure all blades are passing through the same path, and blade angles are equal. The photo is taken looking down one blade.

And up on the windmill.

Results: The blades made as much power as my previous blades ( a set of piggots ), an easy 10 amps once the winds picked up. So for a cheap set of blades they can be made to perform as well as a good hand made set. And fibreglass will last longer than wood or PVC.

But there was still a lot of noise at high speed! That was disappointing, the main purpose of the exercise was to make these cheap blades quiet.

This time of year ( Autumn ) the winds at my place drop off considerably, meaning I couldn't do any more testing on this windmill until late spring. So I shipped the blades and hub off to David in Townsville, about 400km north of my place. David has a good wind location, a F&P windmill and a Chinese 200w windmill, and was willing to give the blades a test for me.

David used my hub to test a standard set of the Chinese blades on his F&P based windmill....
.... and here we have my modified blades on Davids Chinese 200 watt windmill.

Now I had a few emails from David with the results of his test. In his words...

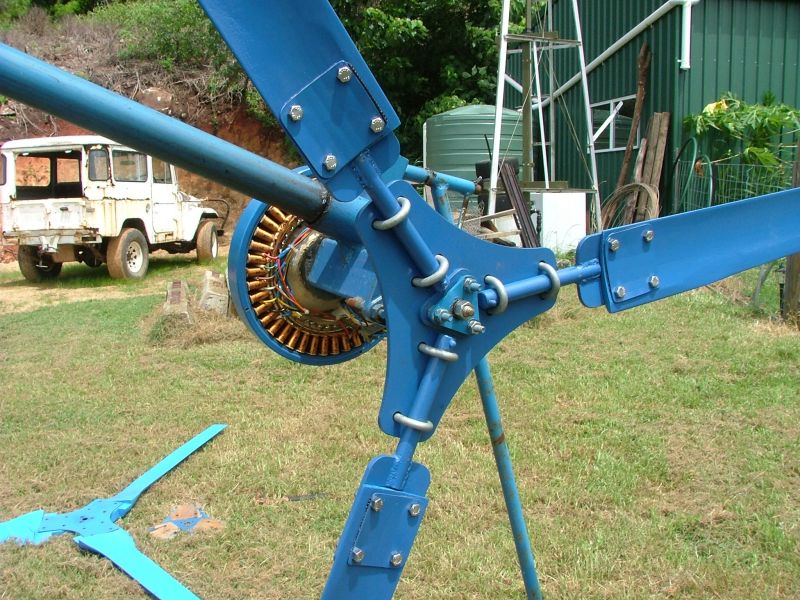
"Put them on my Chinese hub and rebalanced. They have been up for 2 hours now and I can already see some difference.

1. slightly negative. They take more wind to start up.
2. up to 200 rpm (visual again) there virtually no sound…….a definite improvement
3. from 200 to 600 it is also quieter probably about 20% in that range
4. however there is still a high pitched whistle that I can hear through my office window at 400-600 rpm (probably 45 metres)
5. this whistle could also be from the pm motor its self……….Did you get any whistle on your F&P?
6. I also believe that mill performs better at the higher speeds but with out a logger its early days "

then...

"I will just ramble on and list it as it comes into my head. Observations to date:

Your blades have been up 6 days now. Noise levels are a little high, at higher revs the whistle gets higher pitched and can be heard many many metres away. Still some of the whine is the turbine as I don’t get it on the F & P with Chinese blades. The reshaping definitely requires a much higher starting speed. However the start up speed here is still acceptable for me. We get wind virtually every day from 10 am till 6 pm and quite gusty. With the original standard Chinese blades and the Chinese controller I have seen the amps stay between 4-8 and peak burst up to 18-20 amps

Now for the good news:

After about 10 in the morning the output with your blades shows 6-12 amp and quite often bursts up to 24 and I have even seen the amps go of the scale at 30 amps………The high end improvement is dramatic!!!!!!!!!!!!! (if only we could get the noise down). This makes my 200w mill a great little beast."

So it looks like the modification to the Chinese blades gives a big increase in power, at the cost of a later startup speed. That just means if you have enough wind, the modification will turn your cheap 200 watt windmill into a 350watt plus windmill.

But there is still the big problem of noise.

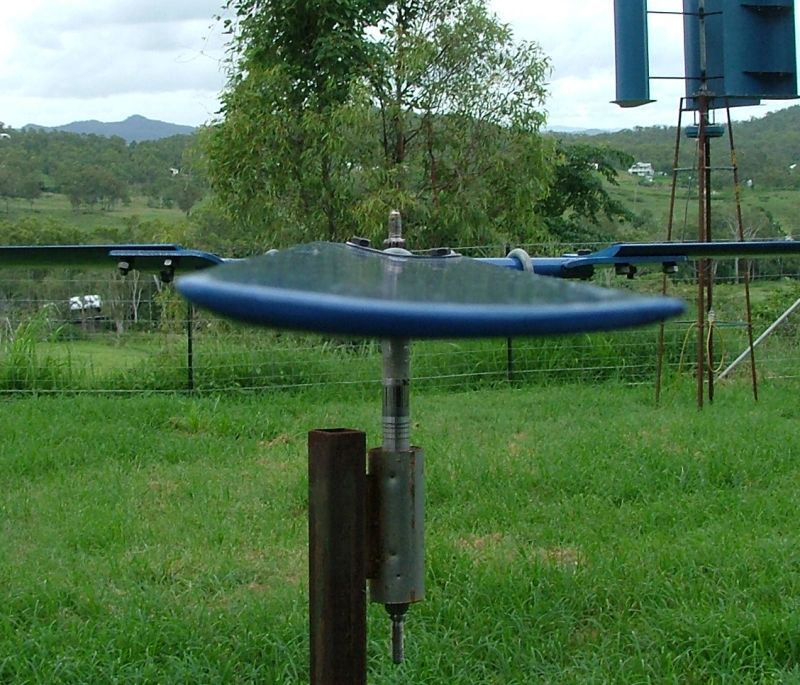
Then I stumbled across a story on the Fieldlines windmill forums. In this message posting here, this guy had a set of blades very similar to the Chinese blades, but these were on a Bergey windmill and had a ridge on the back which he sanded off. They then made lots of noise. So he figured the ridge must have been there for a reason and he 
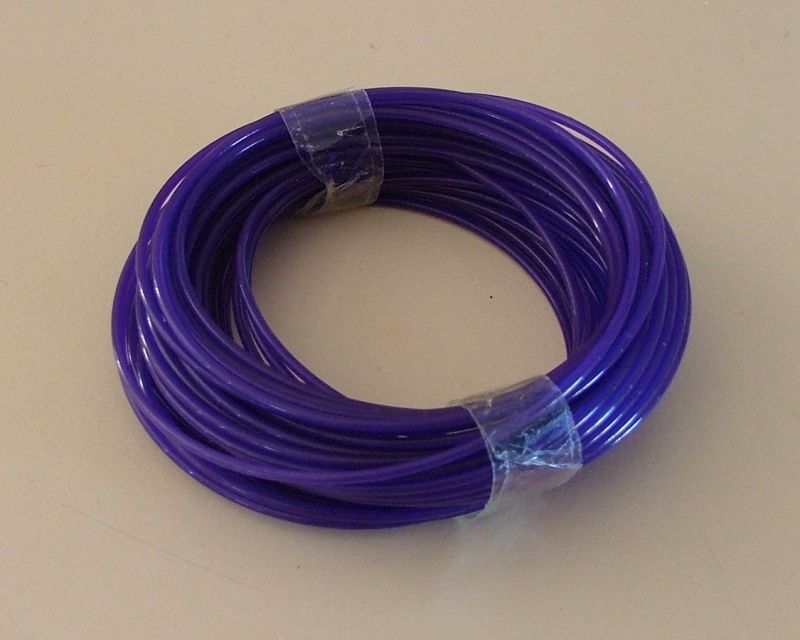
made his own ridge with a length of fine wire and some sticky tape. Apparently it made the blades dead quiet! So I send David another email asking him to try the same and see if it makes a difference. This is his reply...

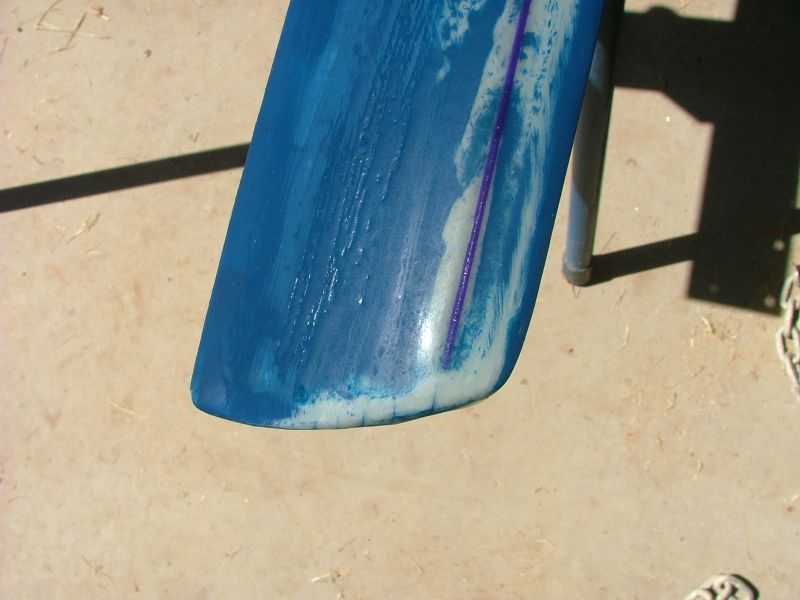
"... all that’s left is a slight whisper, only audible directly under the mill……..now virtually silent even at 300-400 plus rpm. Bit rough and crude all I had is 2.5 weed eater nylon and cheap duct tape."

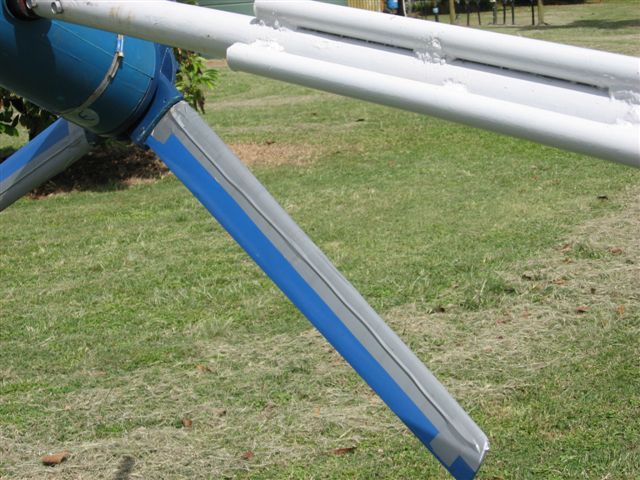
So it worked. By adding this little spoiler to the back of the blades the whistle noise was eliminated, and David also says he has noticed no change in performance, so no power is lost. It looks like the guys at Bergey windmills add this spoiler to make their blades quiet, but the Chinese cheap copy of the Bergey windmill doesn't include this modification.

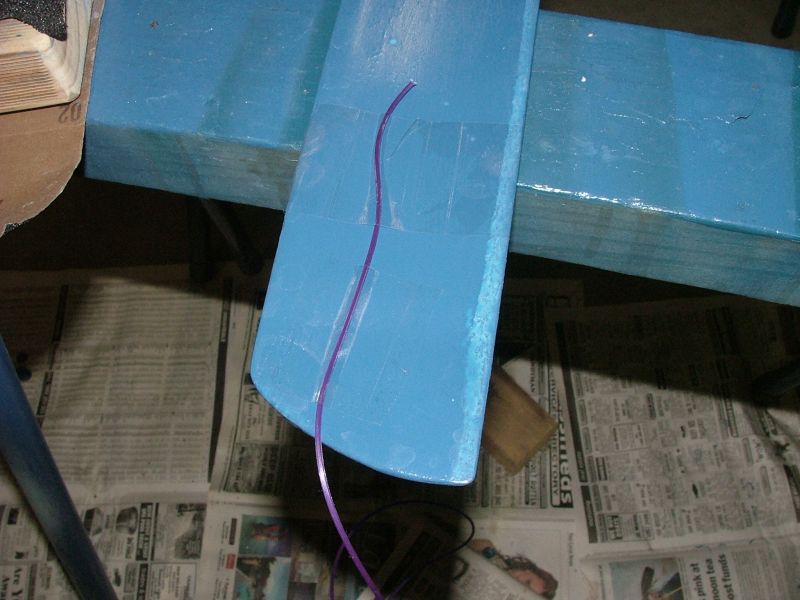
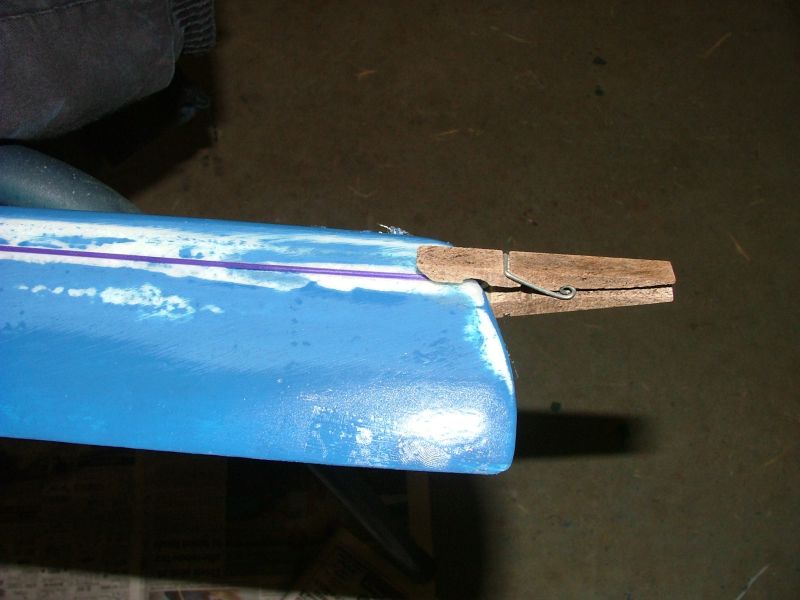
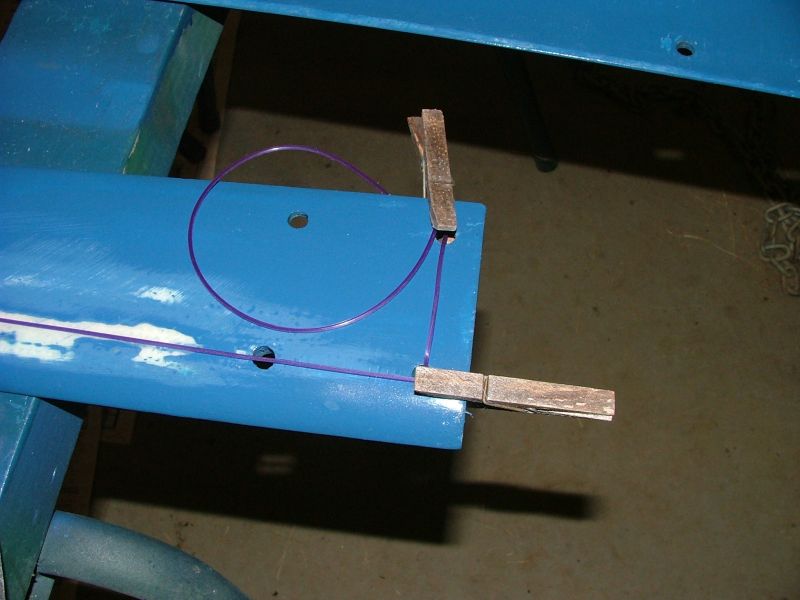
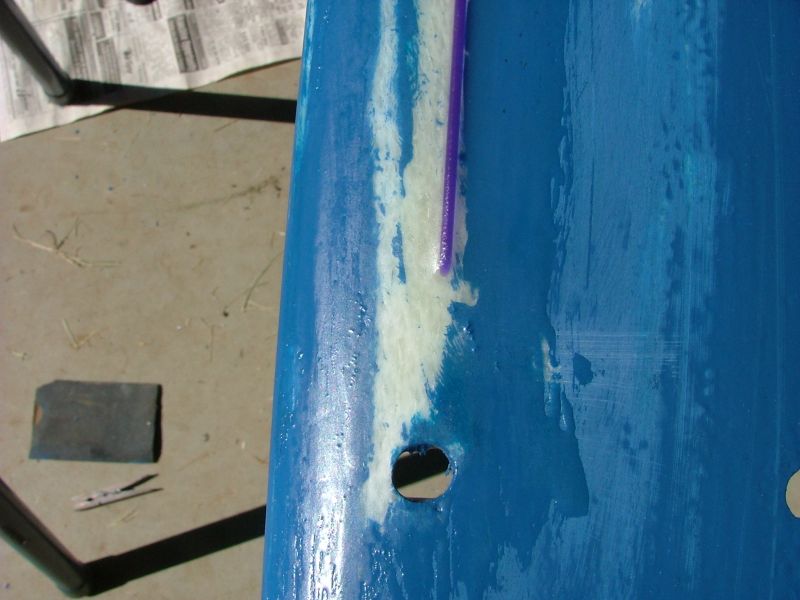
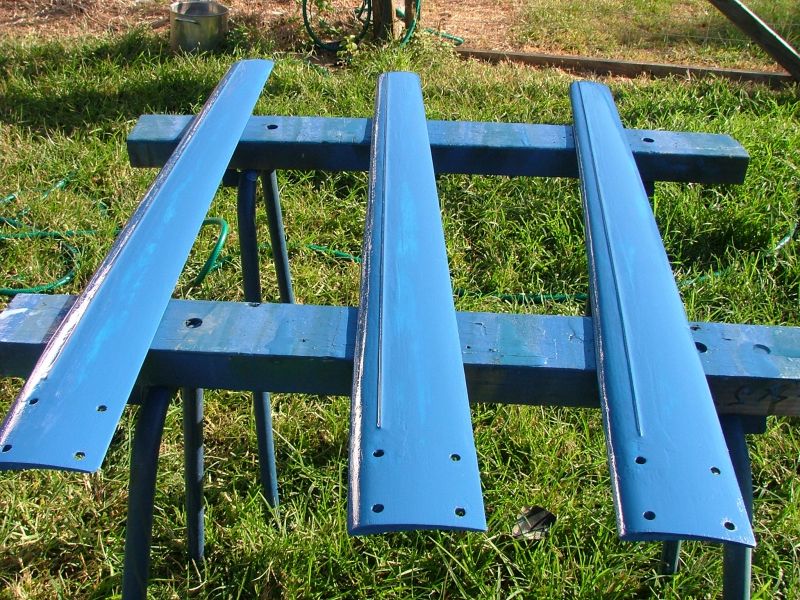
David sent back the blades and hub, I now had to work out how to add this ridge to the blades as a permanent modification

What we need to add is a ridge at the top of the airfoil profile.

First up, cut 3 lengths of 1.6mm nylon weed eater cord ( the purple one ), each length is 1400mm long. Run the cord through some sandpaper to take the shine off the surface, this will make sure the fibreglass resin has something to stick to.


Tape the cord to the underside of the blade tip ( concave side ) about 15mm back from the leading edge. Tape it down good as we will be applying some tension on this.

Bring the cord around the tip and use a cloths peg to hold the cord flat against the blade. These blades have been sanded back, they were painted previously. Ideally you would do this modification before painting your blades.
Feed the cord along the blade and over the first bolt hole and through the 2nd bolt hole at the other end of the blade. Pull it tight enough so the cord sits straight and flat against the blade, then tie it off using the other bolt holes. Use a peg to hold the cord flat against the blade, and another peg to hold the end of the cord.
Apply a layer of mixed fibreglass resin from the edge of the peg at the blade tip to the first hole at the other end, you have about 15 minutes of work time. Make sure the resin has soaked into/around the cord, and give it couple of hours to cure. Next trim back the cord with a knife ( or a lightly tapped chisel works well ), about 5mm in from the tip and 20mm out from the bolt hole. Use a sanding block to feather the ends of the cord, and then dab on some fresh resin to hold the ends down. Let it cure for the night before sanding with some 800 grit wet & dry sand paper.
And then out with the paint for a few coats. I use a good industrial enamel like the KillRust range in pressure packs.

And that's that. In summary, there are 2 modifications we can do to our windmill blades.

The first modification, the blade reshaping, gave us a significant increase in power, though at the cost of a later cut in speed. So if your in a marginal wind area, I would not recommend this modification. But if you have good winds, then the changes will give a good increase in windmill output power.

The second modification reduced the turbine noise to virtually nothing. I recommend this modification no matter what, there is nothing that could do more harm to the domestic renewable energy push than noisy windmills popping up everywhere.


© TheBackShed 2011