Notice. New forum software under development. It's going to miss a few functions and look a bit ugly for a while, but I'm working on it full time now as the old forum was too unstable. Couple days, all good. If you notice any issues, please contact me.
willib Newbie Joined: 24/09/2009 Location: United StatesPosts: 14
Posted: 04:12am 25 Oct 2009
Copy link to clipboard
Print this post
Hi Everyone,
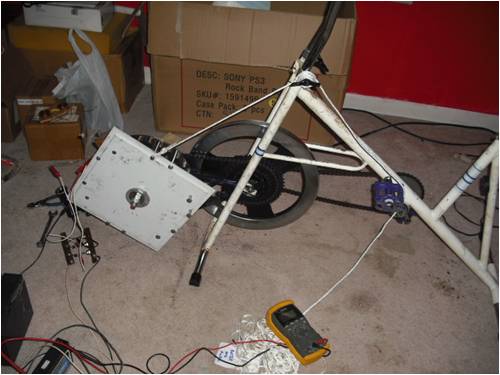
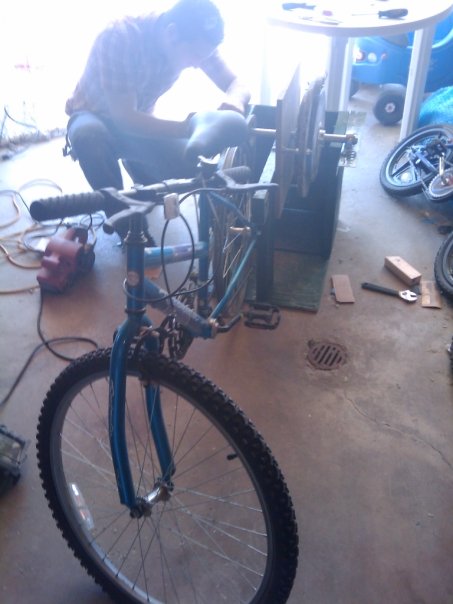
This is my bike generator.
I used a flywheel from a different exercise bike and put it on this one. Then i took a small kids bike flipped it upside down and attached it to the stationary bike where the flywheel attaches.
Then i took two ball bearings and a threaded shaft and attached a axial flux PMG to the kids bike where the pedals used to go. I got real lucky because i didn't need a lathe or any special tools to complete the bike generator, i did have to file the shaft to fit the ID of the bearings .
Oh yeah, the alternator is made from a motorcycle front wheel hub , with two brake rotors holding 0.875 inch DIA Neo's by 1 inch long . There are 24 neo's per rotor ,and when it is finished ,will hold 18 coils.
I just reassembled it last night.I forgot how cool it was to be able to charge a battery just by pedaling, i have seven test coils on there at the moment , i had 9 on there but two were rubbing so i took them off.
One note i could add about the flywheel , before i added the PMG the flywheel will spin by itself for about 15 minutes on momentum alone when pedaled fast and let go. Another thing i got lucky about was the flywheel has a ratcheting thingy in the hub , what i mean is that you can stop pedaling at any time and the flywheel and alternator will continue on its way.
Edited by willib 2009-10-26
Bryan1 Guru Joined: 22/02/2006 Location: AustraliaPosts: 2155
Posted: 10:50am 29 Oct 2009
Copy link to clipboard
Print this post
G'day WilliB,
Small world eh mate That bike conversion looks like a winner and it will be interesting to see some output figures once it's all finished. The fun will start when the charging kicks in and see how long you last and make sure you include the amp/hrs made.
Cheers Bryan
willib Newbie Joined: 24/09/2009 Location: United StatesPosts: 14
Posted: 03:58am 30 Oct 2009
Copy link to clipboard
Print this post
Hi Bryan
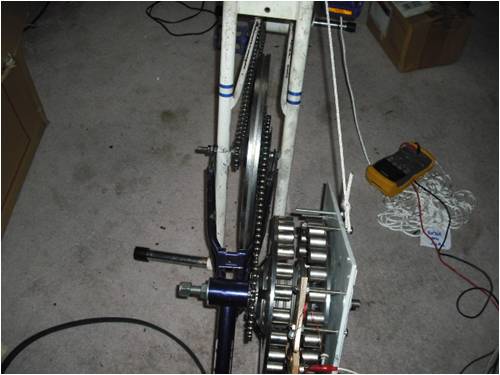
Yes i will do that. Thought y'all might like a different view.
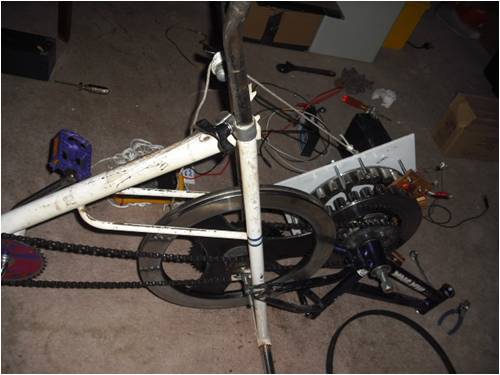
Below is the other side
This shows both chains and sprockets and how it all attaches together.
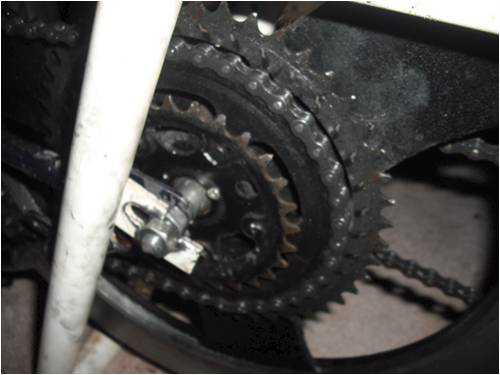
This is a close up of the right sprocket , where it attaches to the flywheel.
liqud Newbie Joined: 11/08/2009 Location: United StatesPosts: 22
Posted: 05:30pm 15 Nov 2009
Copy link to clipboard
Print this post
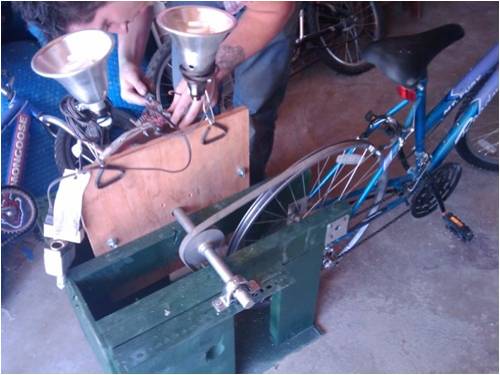
I like it! My brother and I did the same thing and presented it at earth day at a local school. We used a belt and a tension-er and attached it to the wheel to make use of the gears and freewheel easily. We had little slip after we put the tension-er on. I like your design seems much more solid and more practical for at home use. have you gotten any test marks yet?
Edited by liqud 2009-11-17Shawn C
Real power is not given its made...
willib Newbie Joined: 24/09/2009 Location: United StatesPosts: 14
Posted: 03:29am 19 Nov 2009
Copy link to clipboard
Print this post
No numbers yet.
I still have the test coils on there.
They are a conglomeration of old coils that i used for other projects


 That bike conversion looks like a winner and it will be interesting to see some output figures once it's all finished. The fun will start when the charging kicks in and see how long you last and make sure you include the amp/hrs made.