Guru
Joined: 16/09/2019
Location: United KingdomPosts: 4302
| Posted: 02:10pm 16 Sep 2023 |
Hey folks,
It's been a journey but I'm pleased to announce the public release of the Game*Mite v1.0.0.
Features:
- Raspberry Pi Pico Microcontroller
- 320x240 ILI9341 SPI TFT display + integrated SD card reader
- NES style game controller (very clicky)
- Mono audio via PWM capable of playing 4 notes simultaneously
- 3v7 LiPo battery with charging and protection circuit
- MMBasic programming language
Links:
GitHub
User Manual & Build Instructions
Gerbers
Previous thread about the prototype
Acknowledgements:
- Mick Gulovsen (@bigmik) for his many, many hours work on the PCB, writing the early draft of the manual, reviewing the subsequent drafts and all the great advice and friendship.
- Bill McKinley (@Turbo46) for the BOM, reviewing the manual, helping me finally decide on an audio circuit, advice, friendship and keeping me and Mick on the straight and narrow.
- Geoff and Peter without whom all this fun would not be possible; Geoff also reviewed the manual.
- @Martin H, @Mixtel90, @Mozzie, @Volhout and several others here on TBS who helped me when I was wrangling the prototypes.
Apologies to anyone I've forgotten, speak up and take your share of the blame
 .
.How do I get one?
That seems rash, are you sure?

The Game*Mite is all open-source so everyone is welcome to build (and in the unlikely event, sell) them provided the various attributions are kept on the PCBs, User Manual, etc. and the PicoMite/MMBasic license is respected.
For convenience I can sell partial kits (without Pico, TFT or battery) directly to UK shedders at 20 UKP + P&P.
For anyone outside the UK I will have to sell via eBay to deal with taxes and similar red-tape. Unless I find myself making a loss due to additional fees these will still nominally be 20 UKP + P&P but I understand eBay will add destination appropriate taxes, etc. when you get to the checkout so probably not worthwhile.
Please note my kits include the light-grey (not yellow) and red key-caps and four (not six) sets of black nylon (not steel) spacers and screws.
As an alternative for our antipodean members @bigmik will be selling limited kits consisting of the PCB, PAM8302A, TP4056 and the "funny" volume control, I'll let him post separately about price.
Pictures:
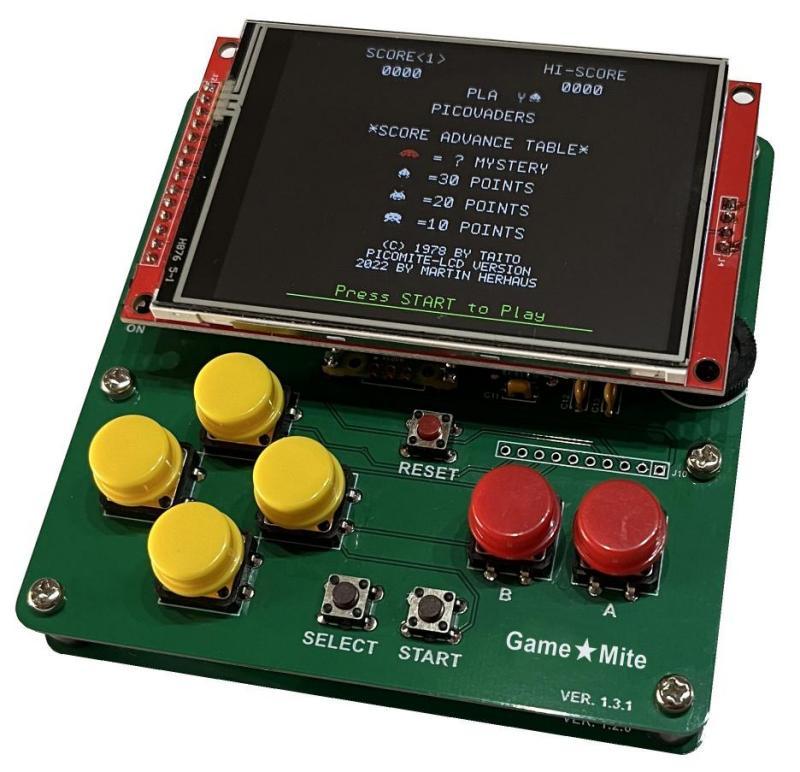
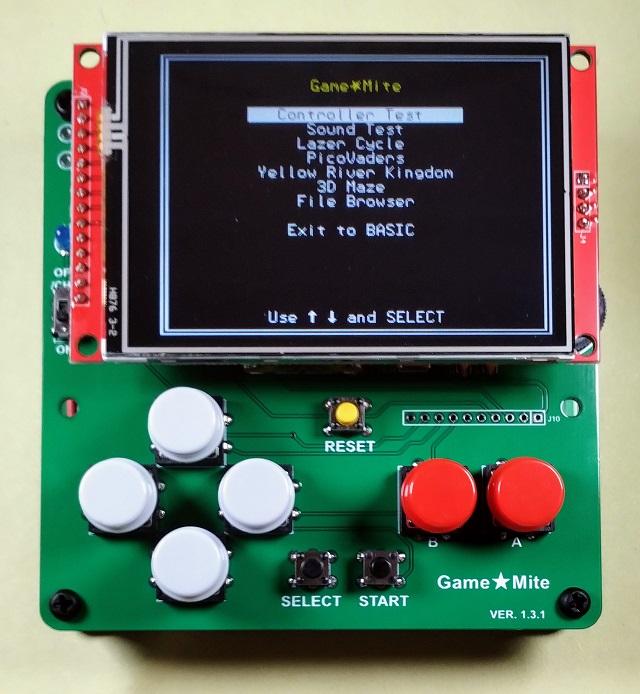
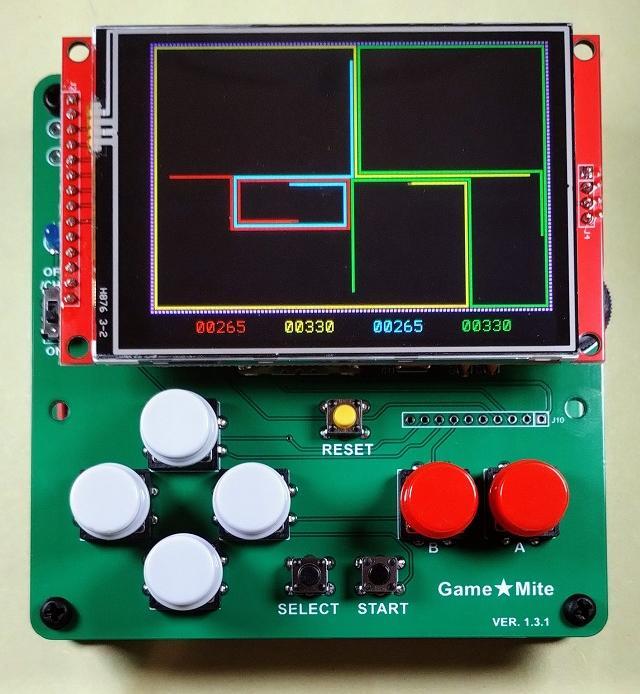
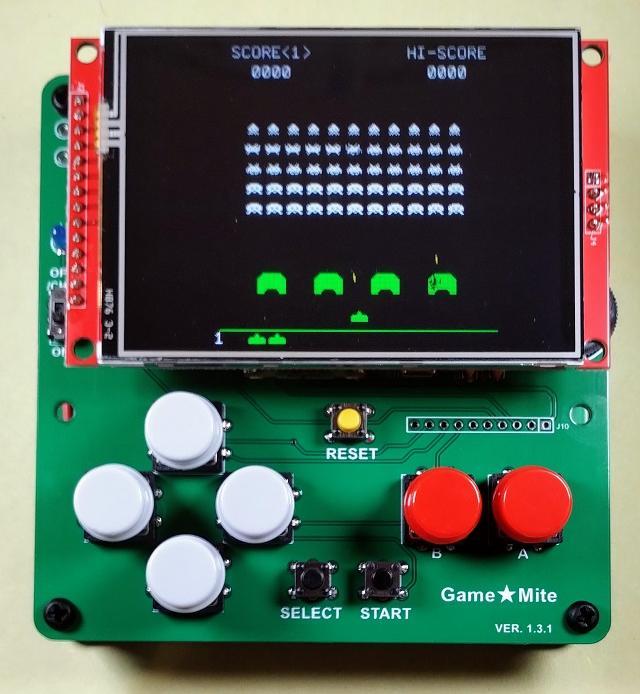
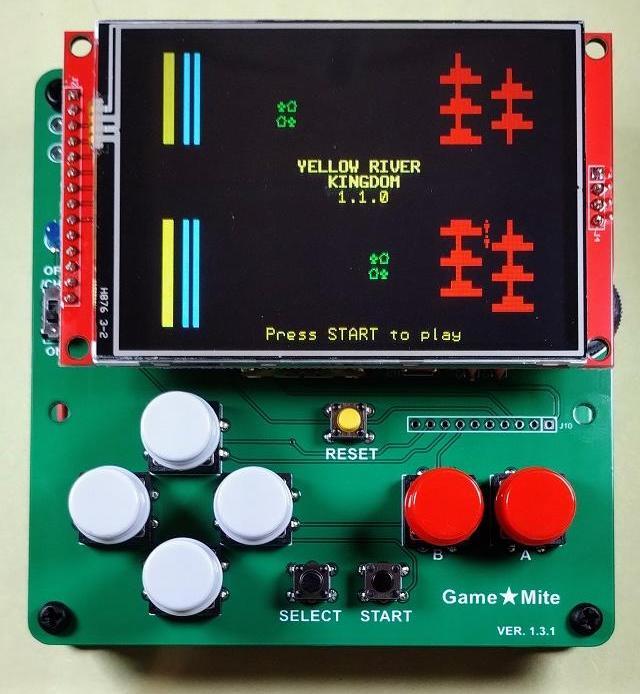
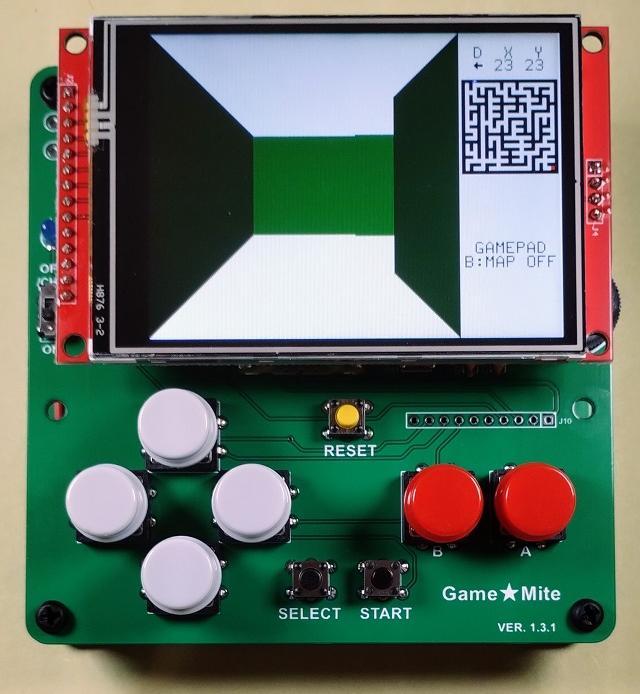
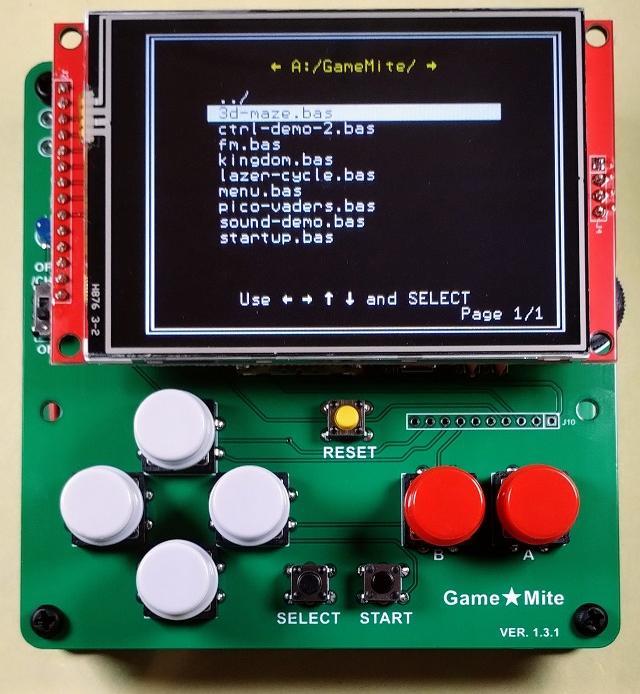
Best wishes,
Tom
Edited 2023-09-18 19:51 by thwill
Guru
Joined: 05/10/2019
Location: United KingdomPosts: 7865
| Posted: 03:18pm 16 Sep 2023 |
Oh, that's seriously cool! :) Love it!
Guru
Joined: 04/06/2022
Location: GermanyPosts: 1220
| Posted: 03:48pm 16 Sep 2023 |
Nice

Guru
Joined: 18/11/2011
Location: United KingdomPosts: 4038
| Posted: 03:52pm 16 Sep 2023 |
Congrats!
John
Guru
Joined: 25/06/2022
Location: United KingdomPosts: 2540
| Posted: 04:33pm 16 Sep 2023 |
Nice one. stan
Guru
Joined: 05/03/2018
Location: NetherlandsPosts: 5058
| Posted: 08:37pm 16 Sep 2023 |
Tom, yoi created a mice platform. Once I build one I will adapt some games for it. Looks like a fun product.
Am I correct that it is not intended to ever use touch? I have a display without tpuch, I can use for it. Otherwise I order a new one.
Volhout
Guru
Joined: 16/09/2019
Location: United KingdomPosts: 4302
| Posted: 09:26pm 16 Sep 2023 |
Thanks folks.
That would be great
 .
.It is wired for touch, but I don't imagine I will make use of that in games.
I included it because I had the GPIO free and I thought that being of a relatively portable form-factor any spare PCBs might have use in future projects, e.g. a handheld version of your logic-analyser.
That is also why:
- The 8 pins used by the controller switches are also available via J10.
- I didn't use the analog pins and made them and a couple of other free GPIO available via J1.
- I made provision for not attaching the audio pins GP20 & 21 so they could also be made available via J1.
Best wishes,
Tom
Edited 2023-09-17 08:30 by thwill
Newbie
Joined: 25/01/2017
Location: United KingdomPosts: 36
| Posted: 03:30pm 17 Sep 2023 |
Tom - great board. I would like to buy one -!how do I go about that. I live in deepest Herefordshire.
Phil
Guru
Joined: 16/09/2019
Location: United KingdomPosts: 4302
| Posted: 03:50pm 17 Sep 2023 |
Hi Phil,
Despite Brexit I think I can still ship from Manchester to Herefordshire. PayPal would be ideal, though personal cheque if you are old fashioned. Send me a PM to continue the discussion.
Best wishes,
Tom
Guru
Joined: 04/06/2022
Location: GermanyPosts: 1220
| Posted: 05:23pm 17 Sep 2023 |
Hi Tom
how does this work via EBAY, If I like to buy one set?
Guru
Joined: 16/09/2019
Location: United KingdomPosts: 4302
| Posted: 05:40pm 17 Sep 2023 |
I can put one up on eBay with international sales enabled, I think you visit the UK site (though perhaps it will appear on the German site) and you go through as far as being asked for payment and tell me how it looks - in theory eBay will add the appropriate sales tax for an import into the EU. There should be no import duties: https://www.government.nl/topics/brexit/question-and-answer/purchase-items-from-the-uk-online-after-brexit (the answer for Germany will presumably be the same as for the Netherlands).
In any case I'll put one up during the week.
In case it isn't obvious, this is strictly an amateur operation I'm not in it for the money, I'm just trying to make it convenient for those who want to get hold of one.
Best wishes,
Tom
Edited 2023-09-18 03:41 by thwill
Newbie
Joined: 25/01/2017
Location: United KingdomPosts: 36
| Posted: 07:36pm 17 Sep 2023 |
Tom - I couldn't find your email. On the members list it is should as hidden and I couldn't see one on Socketpuppet.
Phil
Guru
Joined: 16/09/2019
Location: United KingdomPosts: 4302
| Posted: 07:42pm 17 Sep 2023 |
Hi Phil,
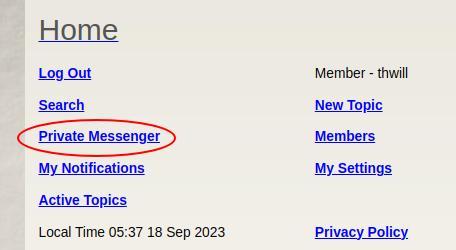
The forum has a "Private Messenger" facility, I'm user "thwill":
Best wishes,
Tom
Guru
Joined: 18/10/2016
Location: AustraliaPosts: 871
| Posted: 11:49pm 17 Sep 2023 |
Hi Tom and 'team Game*Mite',
GameMite looks very interesting. Well done!
Lots of comments & suggestions:
- The manual is great - congratulations. Perhaps one might add:
. a pic of the underside, eg the battery etc?
. how to access the .bas software, eg for updates, other programs etc.
. could there be more comment on J1 and how it might be used?
. rather than 'wasting' a PCB for the base how about a dimensioned pic for a sheet of say acrylic etc?
- is there scope for a clever shedder to come up with a 3D printed enclosure?
- how long does the battery last with the LCD on full power?
- any means of showing battery charge level?
- can the 'BACKLIGHT' command be used to change display brightness?
(I'm thinking of an option to progressively dim the display if no button presses etc.)
- can a WebMite be used instead of the Pico OR as well as? (The LCD could be spaced more). This then makes it a very useful portable controller/monitor.
- I'm thinking of how to add an HC-12 but that might only be of limited use?
- I'd love to fit a 4" LCD!
- Switch S1, for charging, should it be rotated so it is accessible at the edge rather than almost under the LCD? (Maybe a silly idea)?
A great project and I can't wait to get my hands on one.
Cheers,
Andrew
Guru
Joined: 16/09/2019
Location: United KingdomPosts: 4302
| Posted: 11:09am 18 Sep 2023 |
Hi Andrew,
Thanks for the interest and the questions.
We will look at adding for the next revision / FAQ, but in the meantime here are some answers:
@bigmik is the master of the photos, I'm sure he will oblige.
The Game*Mite is 99.95% a PicoMite so you can connect USB and use a serial terminal or MMEdit as per usual. To get to the MMBasic prompt you need to send a Ctrl-C or select "Exit to BASIC" from the main menu.
J1 is a 7x2 right-angle boxed male header bringing out all the unused GPIO: GP16-19, GP26-28. There are also solder jumpers to route GP20-21 to this header if you don't need the onboard audio. It also has 3xGND and 2xVCC (3v3), note there isn't 5V anywhere on the board unless being powered by USB. These pins are (I believe) sufficient to allow access to a limited combination of ADC,I2C0,I2C1,RxTx0 or SPI0 (shared with display and SD card). I believe it could be used for the simple DSO code currently being developed y @NPHighview and others and for a 6-channel logic analyser (@Volhout) though in the latter case you have to sacrifice or re-route the audio to other pins. We could have made more I/O available by copying the NES controller design and using a shift-register and additional pull-up resistors with the buttons, but we sacrificed that in the name of reduced complexity / component count.
I'm sure @bigmik can oblige. Though at less than 1 GBP per PCB I'm not sure it's a waste to use one as the backplate, especially since it is printed with useful information about OPTIONS and pin allocation.
That is up to the "clever shedders" and outside my pay grade.
A prominent constraint in the current design was to try and create something ergonomic that would still fit on a single 100mmx100mm PCB because JLCPCB will fabricate those incredibly cheaply.
However if you wanted to fit a case then you would probably want at least two PCBs:
Bottom: 100mmx100mm containing the top half of the current PCB with the Pico and other modules but in the bottom half instead of having the controller you would mount the speaker, battery and a header (c.f. J10) on which to mount the controller PCB (below).
Top: A 100mmx40mm PCB containing the controller.
This would allow the TFT and buttons to be put in approximately the same horizontal plane making it easier to enclose and provide the necessary cut-outs.
With the volume turned right down the device draws ~100 mA. With the volume cranked up (and sound playing) is draws ~200 mA. You can do the maths yourself with the recommended 1000 mAh battery ... though those are Chinese mAh, so ... I've not had one give up on me yet.
I'm guessing that has to be done by measuring VSYS (from the battery) and doing some mapping of V vs. remaining charge in software. Does GP29 carry that information (VSYS/3) ?
Not as the hardware is currently configured. I *think* you could patch one of the unallocated PWM pins to the LED pin on the TFT but I've never tried it. In the absence of an operating system each program would then have to be able to handle this independently or the firmware would need some serious hardware configuration specific titivating to monitor the GPIO allocated to the buttons.
I think so, though you might want a version of the WebMite firmware that includes the Game*Mite's modifications, or Peter would have to be persuaded of their general merit.
I know nothing!
Not for the Game*Mite, but perhaps it may serve as inspiration for another device. The Game*Mite uses the ILI9341 because of its ubiquity, low-cost, and also most importantly because its resolution is the same as the PicoMiteVGA which makes porting games between the two platforms easier. I believe the 3.2" is the biggest of the ILI9341 displays.
It looks like you can get similar right-angle DPDT but the PCB might need titivating to fit one.
You know a fellow Aussie who can provide
 .
.Best wishes,
Tom
Edited 2023-09-19 19:24 by thwill
Guru
Joined: 18/10/2016
Location: AustraliaPosts: 871
| Posted: 09:15pm 18 Sep 2023 |
Thanks Tom,
Andrew
Guru
Joined: 24/12/2017
Location: AustraliaPosts: 1639
| Posted: 12:30am 19 Sep 2023 |
More on that 'wasted' board
In the manual, bigmik has described a clever method using the extra board when soldering the male headers used for mounting the modules. The extra board is worth it just for that.
Bill

Guru
Joined: 20/06/2011
Location: AustraliaPosts: 2949
| Posted: 01:02am 20 Sep 2023 |
Hi Andrew, All,
I am sorry I have been unable to reply until now, I have been run off my feet with projects around the house and my 65th birthday (Tomorrow 21st Sep) which seems to have attracted hoards of people who want to pop in or take me out for dinner etc, they must all be surprised I am still around. I will milk it while it lasts.
Thank you for the kind words, there have been many 100's of hours spent between Tom, Bill and myself on getting this together. There was so much more we wanted to include in the manual but we decided that for the initial release we will go with what we have and later, as more questions such as yours arise we can follow up with a FAQ or additions to the manual.
Unfortunately I haven't got one of the `specified' batteries so I used one that was quite fat and just squeezed in and it is as ugly as me. I don't think it would be suitable to publish a picture of that.
If Tom or Bill can send me a picture I can edit it and post it here, but honestly it is very straight forward and I think most people would know how to `tape' a tiny speaker and lithium down satisfactorily, and that gel based double sided tape sticks the speaker and battery down to the base board very well
The bottom board could be cut from perspex or ply wood or other suitable material and thus save a PCB but the truth is that I (and no doubt Tom) have quite a few spare, blank PCBs from previous revisions (that are fully functional as they are all minor changes such as moving the switches lower and changing the name from Bintendo Tomboy to Game★Mite) so these are more than suitable and IMHO would look better than a blank baseboard and don't need any cutting to make work.
As to a 3D printed case, well, maybe someone will do that but I think the size and feel as it is, is perfect, adding a case would make it more awkward and cumbersome to use, however if someone does come up with a case that can only be an improvement to possible options.
Also the expansion header has the text for the Pin out under where the header sits (as there was no other suitable place to fit that text) and by using a 2nd PCB that text is visible as shown in this mockup.
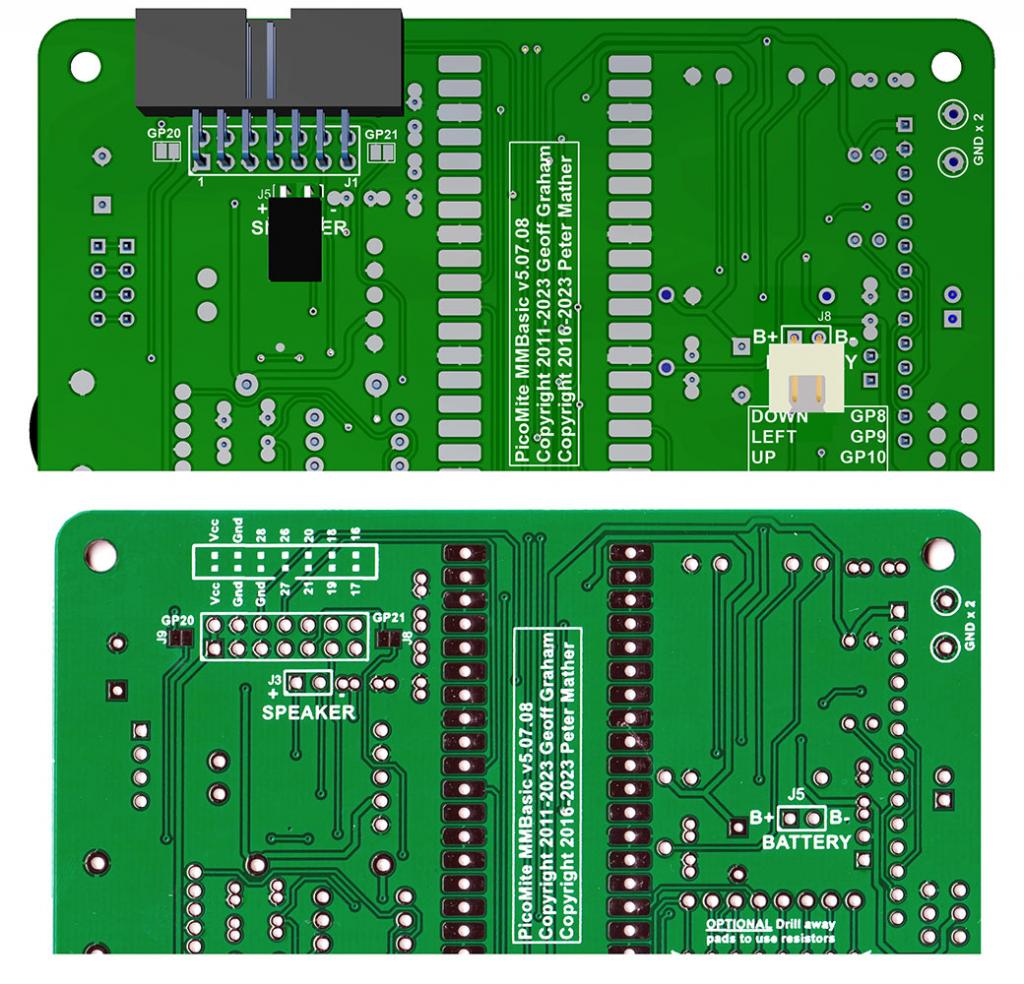
No as the Game★Mite currently stands the backlight is fixed. This is an easy modification to do though, simply remove the 68R resistor, R2, and run a wire link from the side of R2 that goes to the backlight pin and which ever pin you wish to use for backlight control.
However, as Tom pointed out each game would then have to be modified to support backlight control.
As to the battery level the Game★Mite doesn't read the battery voltage, The Analog input pins are currently unallocated so you `could' allocate one of these to monitor the VBus line but once again each game would then have to be modified to support that feature.
Re. the WebMite swap, one would have to look at which pins on the PicoMite are used and compare to the available pins for the WebMite.
The problem with the 4" displays is that they are not available in ILI9341 style, and the games rely on the 320 x 240 resolution for speed and play-ability. Of course, I think, you are looking at other, non game, applications then I can see why you might want a nicer, higher resolution TFT.
Re. the power/charge switch, it is clear of the LHS of the TFT by a good 5mm so is not needed to be rocked over, of course if a 90 degree switch with the same pinout is available I am sure one could use it instead if they chose to.
You never know, maybe Santa has one put aside for you.

As to availability, I have most parts except batteries and TFT screens and Aus post don't like us sending lithium batteries in the post anyway..
I will keep price parity with Tom. So I am offering the following.
$38.50AU for a kit of all parts except TFT, battery and Pico. Inc postage in Aus.
$15AU for a set of 2 PCBs (one may be earlier version) Inc post in Aus.
$10AU for a single, latest, PCB. Inc post in Aus.
$15AU for a programmed Pico (ready to run) if ordered with above.
All other items on request.
As mentioned I will not be able to supply batteries.
Kind Regards,
Mick
Edited 2023-09-20 13:59 by bigmik
Guru
Joined: 18/10/2016
Location: AustraliaPosts: 871
| Posted: 04:49am 20 Sep 2023 |
Hi Mick,
Thanks for chiming in. It must be hectic preparing for such a milestone birthday - but then you have had plenty of practice
 .
.Please put me down for two units please (one for each set of grandchildren) - I'll PM you with details etc.
I'll also be in 'touch' about some of the other features.
Happy Birthday,
Andrew
Guru
Joined: 16/09/2019
Location: United KingdomPosts: 4302
| Posted: 09:35am 20 Sep 2023 |
Hi folks,
In response to a query received by PM here is a (not very good) photo of what one of my kits includes (note the second PCB is for use as a back-plate, it may not be of the latest version). Note also that the contents of Mick's full kit may differ.
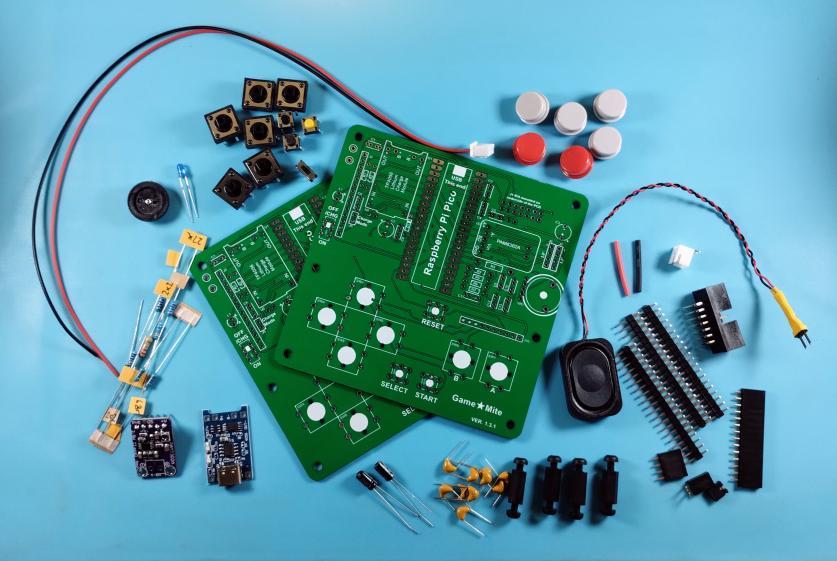
Best wishes,
Tom