
|
|
Forum Index : Electronics : Stock Std Warpinverter
| Author | Message | ||||
| Warpspeed Guru Joined: 09/08/2007 Location: AustraliaPosts: 4406 |
That will be fine Mark. One pass through the hole counts as one full turn. Whatever happens outside of the hole makes no difference at all. As you work your way closer to the centre, overlapping layers have less and less effect, so its all good. Probably the best thing to use for insulating individual wires is small diameter heat shrink tubing. Its thin, withstands high temperatures well, and makes excellent insulation. Cheers, ĀTony. |
||||
renewableMark Guru Joined: 09/12/2017 Location: AustraliaPosts: 1678 |
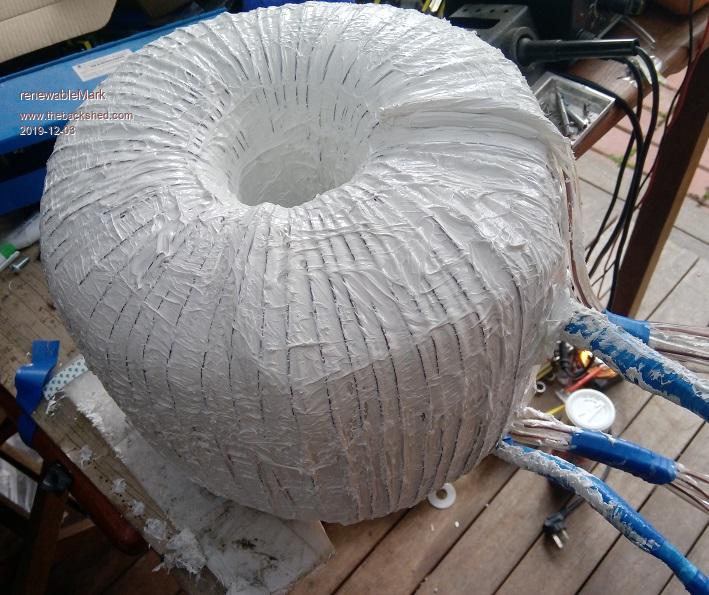 OK torroid all done. Still have made no start on wiring up the machine etc. Iv'e been a bit slack on this as the main reason to go to the Warpinverter was to clean up the wave when running my horrible loads such as the inverter AC, but I found it runs nice and clean on eco mode. I'll get it done soon though. Cheers Caveman Mark Off grid eastern Melb |
||||
| Warpspeed Guru Joined: 09/08/2007 Location: AustraliaPosts: 4406 |
That's a great effort Mark, the rest should be much easier going. Cheers, ĀTony. |
||||
| renewableMark Guru Joined: 09/12/2017 Location: AustraliaPosts: 1678 |
The third winding had to be done with a small solder spool. Fourth one couldn't even be done with a spool, it had to go back on with a shuttle. Very time consuming to get each turn on loosely, then hand smooth the wire and then pull it tight, then try and keep it tight while the next turn goes on, do that 128 times and it gets pretty tedious. Fourth wind went around the core two times with a poly and mylar layer between which added time. So this was a very time consuming transformer to make, reckon I could have done four normal ones in the same time. Hope it works well  Wife will be happy to get the back deck back and all my crap cleaned up for summer time. Good timing actually. She sent me a text of the pic just after I built the deck with it all looking nice. I think she was hinting at something there.  Cheers Caveman Mark Off grid eastern Melb |
||||
| renewableMark Guru Joined: 09/12/2017 Location: AustraliaPosts: 1678 |
OK got some time up my sleeve now. Just want to make sure of the connections before I start cutting cables. So at the back will be these bus bars, caps will be fitted after testing. 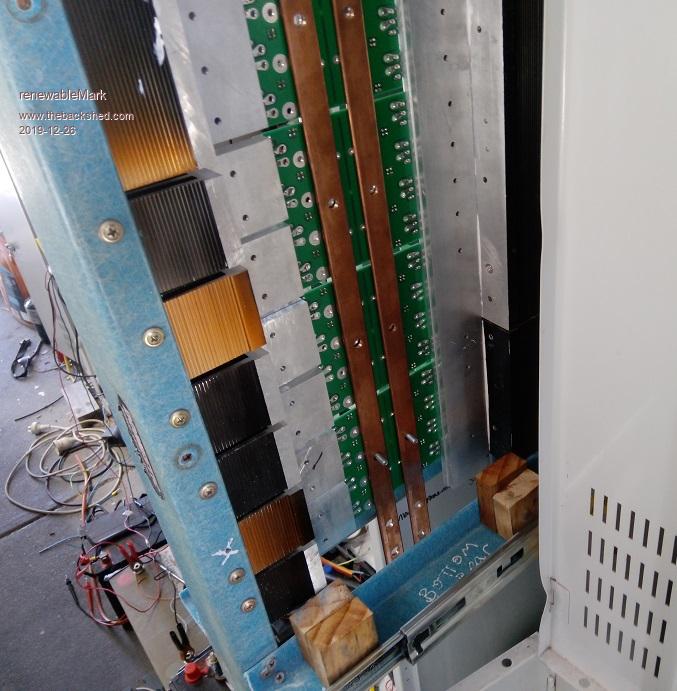 Bus bar battery input connections here. 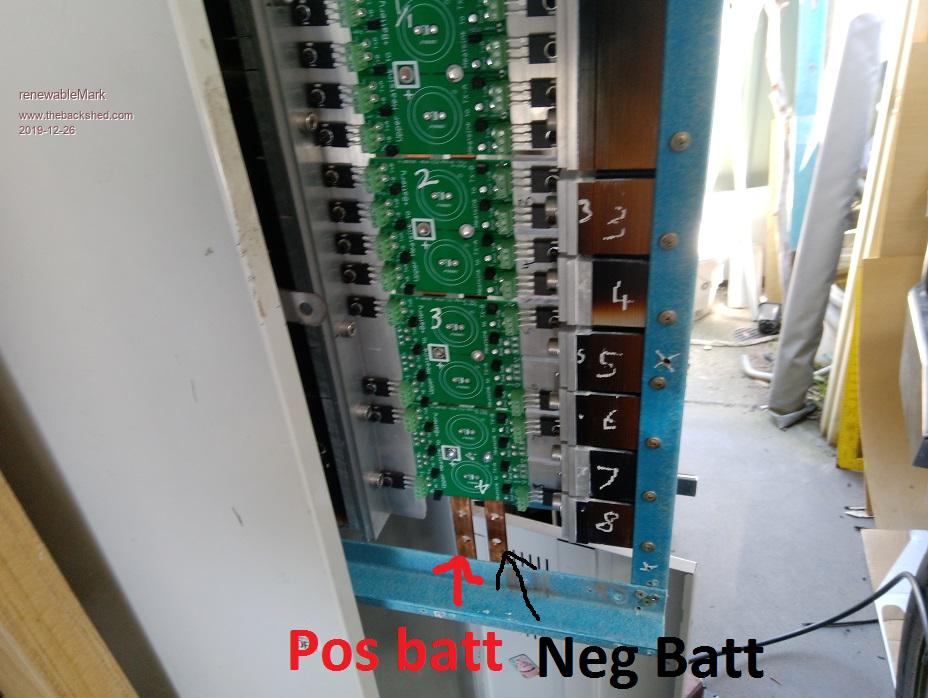 And then the primary connections from the torroid go to the two halves of the heatsinks on the right side. 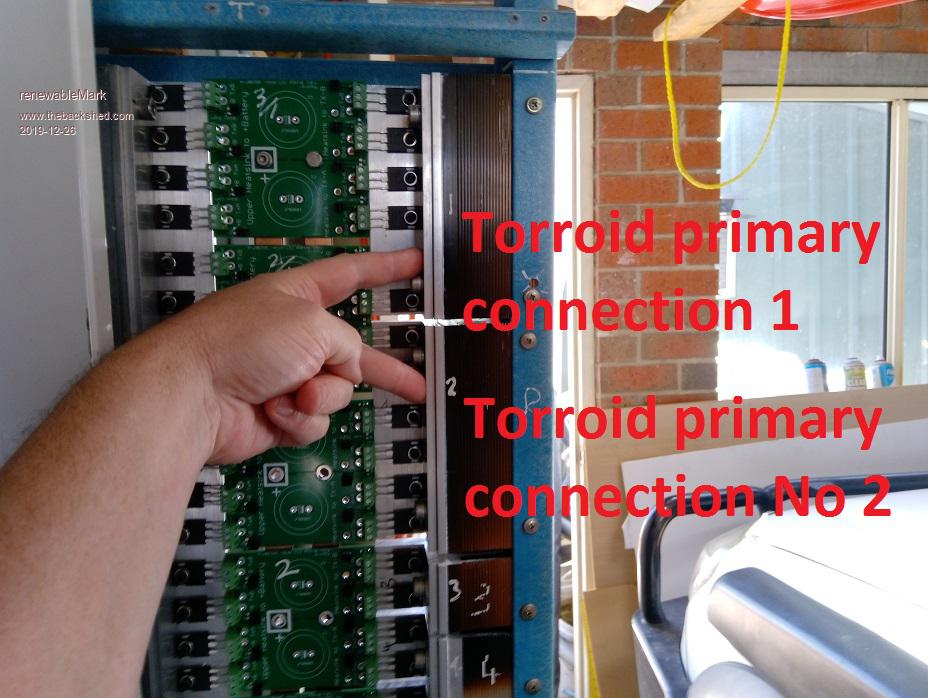 Cheers Caveman Mark Off grid eastern Melb |
||||
| Warpspeed Guru Joined: 09/08/2007 Location: AustraliaPosts: 4406 |
Gosh, that is a real work of art Mark far too good to use as an inverter. Cheers, ĀTony. |
||||
| BenandAmber Guru Joined: 16/02/2019 Location: United StatesPosts: 961 |
Very nice I like how you encapsulated your toroid also be warned i am good parrot but Dumber than a box of rocks |
||||
| renewableMark Guru Joined: 09/12/2017 Location: AustraliaPosts: 1678 |
Thanks guys, not far to go yet. We'll be able to see if that spaced torroid with the primary on first makes a difference. Cheers Caveman Mark Off grid eastern Melb |
||||
mackoffgrid Guru Joined: 13/03/2017 Location: AustraliaPosts: 460 |
Looks Good Mark  The connections you indicated are correct. Cheers Andrew |
||||
| renewableMark Guru Joined: 09/12/2017 Location: AustraliaPosts: 1678 |
Thanks mate, got a few jobs come in today I'll have to take care of....  Shouldn't be too far off though. Cheers Caveman Mark Off grid eastern Melb |
||||
| renewableMark Guru Joined: 09/12/2017 Location: AustraliaPosts: 1678 |
Hey guys, I was trying to find a cage fan from some busted bit of equipment, but haven't found anything yet. Then I thought of the tower fans you see in the shops, nice and high, that will cover my stack of torroids fairly well. Bunnings fan This could be fitted inside the locker and have a shroud on the door to act as an inlet duct that lines up with the back of the fan when the door is closed. Cheers Caveman Mark Off grid eastern Melb |
||||
| Warpspeed Guru Joined: 09/08/2007 Location: AustraliaPosts: 4406 |
That should work well Mark. A lower cost alternative might be an ordinary ceiling exhaust fan to blow some cold air into the lower half of your locker and stir things up a bit, combined with one or more strategic holes at the back to let the hot air out ? Bunnings have such a beast for about thirty bux. It may be a bit noisy, especially when bolted to thin sheet metal, but I doubt if its ever going to come on. Not familiar with those tall tower fans which may be better anyway. 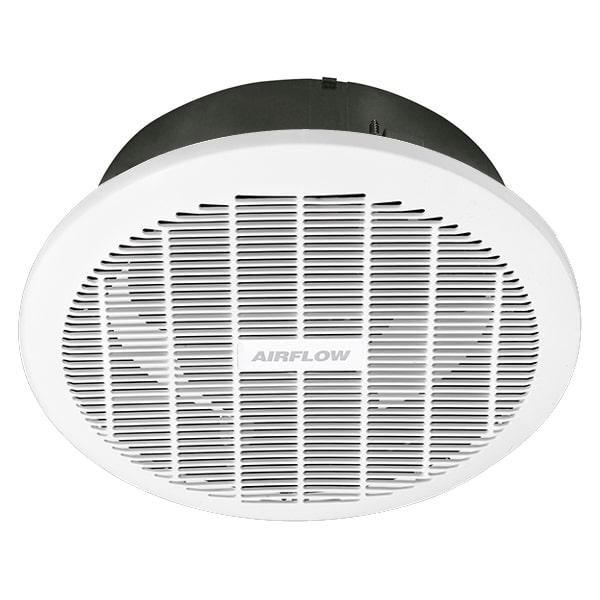 If you want to make some nice clean perfectly round three inch ventilation holes in your locker, I have a three inch sheet metal punch. 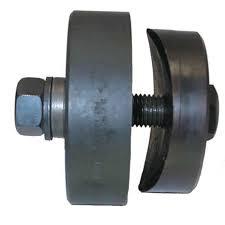 Edited 2019-12-27 09:14 by Warpspeed Cheers, ĀTony. |
||||
| renewableMark Guru Joined: 09/12/2017 Location: AustraliaPosts: 1678 |
Thanks Tony, I didn't even know they made those punches. I'll wait till I know the air paths before cutting the case up. I'll try and go to a store where they have a demo tower fan to see how much air flow they have. Cheers Caveman Mark Off grid eastern Melb |
||||
| renewableMark Guru Joined: 09/12/2017 Location: AustraliaPosts: 1678 |
OK, busy summer period is winding down. I ordered a dso and will finish this off, sorry for the delay gang. I know some have been keen to see the result of the different winding method. Jeez, over 2 months since I have done anything to it.  Cheers Caveman Mark Off grid eastern Melb |
||||
| Warpspeed Guru Joined: 09/08/2007 Location: AustraliaPosts: 4406 |
Great to have you back Mark  Cheers, ĀTony. |
||||
| renewableMark Guru Joined: 09/12/2017 Location: AustraliaPosts: 1678 |
 Got the new scope, it has in built sig gen. Have to work out how to use a digital one now. Cheers Caveman Mark Off grid eastern Melb |
||||
| poida Guru Joined: 02/02/2017 Location: AustraliaPosts: 1389 |
4 channels is good. This will be a great tool to have and will help you get a good understanding of things inverter related. And other things too, ya never know. You have 4 inverters, so you can check out the low side gate drive output, all referenced to DC ground. This will show the 4 different PWM drive forms. Take care when checking out the high side drive outputs. All 4 require different "earths" and all 4 are not and never will be DC ground. But. But you can still see them, just accept the zero for each of the 4 high sides need to be subtracted from DC supply to see the actual high side gate drives. So that's the gate drives. It's much better to check out the outputs of the controller board between the eprom and the gate drive chips. All of that will be relative to DC ground. Take some care when attaching those alligator clips is all I am saying. Every one of the 4 channel's earth alligator clips are connected to the mains earth. One channel can not be used as isolated compared to the other 3. All shared the same ground. (check with the multimeter, touch all BNC connectors and see) wronger than a phone book full of wrong phone numbers |
||||
| Warpspeed Guru Joined: 09/08/2007 Location: AustraliaPosts: 4406 |
Very nice mark ! It will make things so much easier. Cheers, ĀTony. |
||||
| renewableMark Guru Joined: 09/12/2017 Location: AustraliaPosts: 1678 |
Poida, it's a 2ch the left 2 are gen output and sync trig. I only need 1 channel to look at, that's enough to confuse me. This is what I got Cheers Caveman Mark Off grid eastern Melb |
||||
| Warpspeed Guru Joined: 09/08/2007 Location: AustraliaPosts: 4406 |
That is very good value, it has a lot of features that will probably take a fair while to become truly familiar with. I have had my new CRO for a couple of months and have barely scratched the surface of what it can do. To be completely honest its all a bit daunting. Cheers, ĀTony. |
||||
