|
|
|
|
 Print Print |
|
|
| Windmill Kit, no longer supplied. |
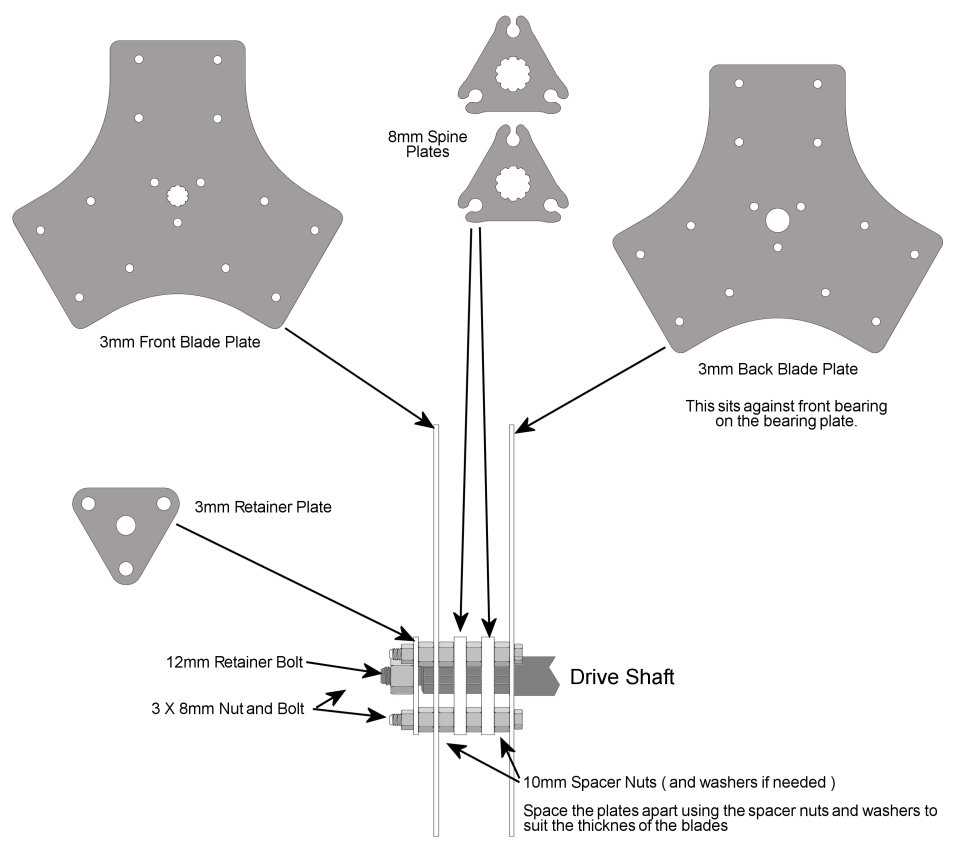
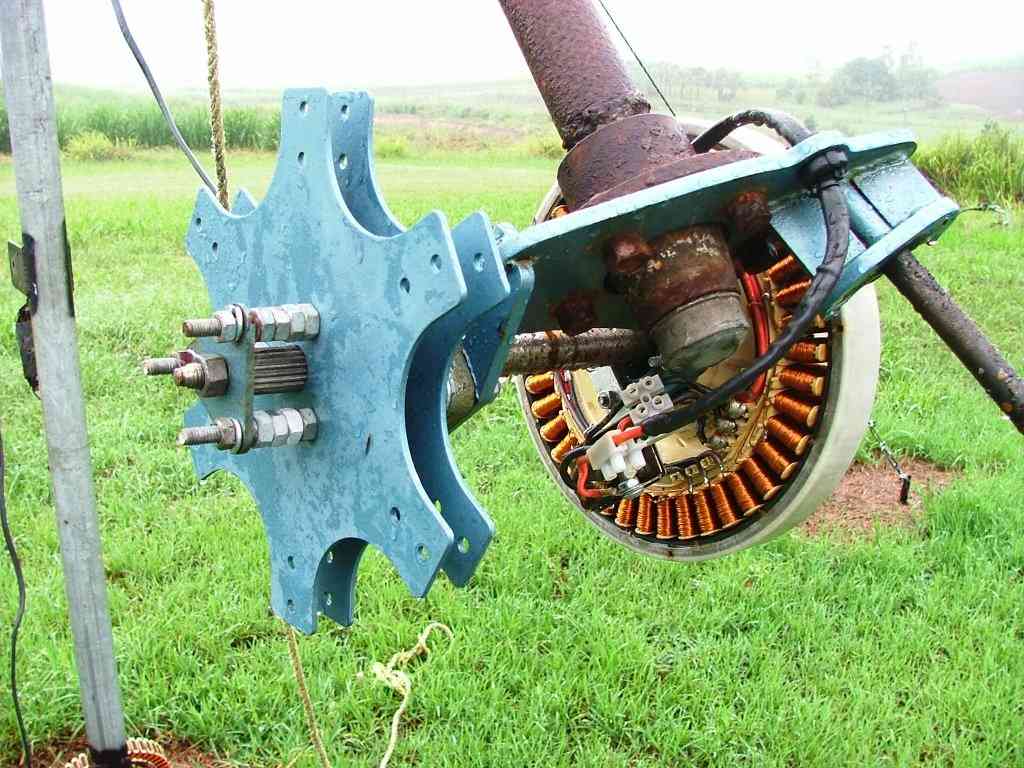
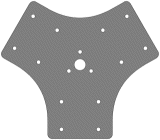
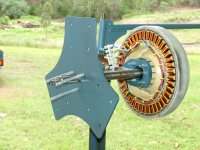
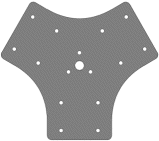
| Turbine
Hub Assembly |
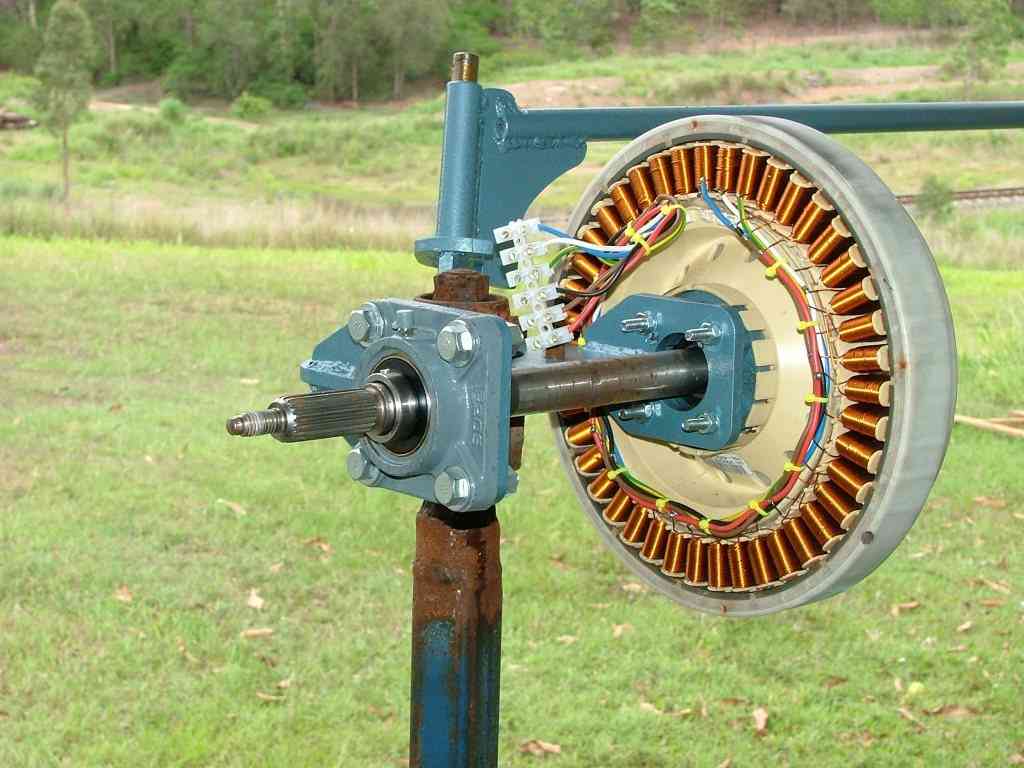
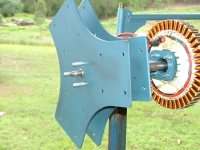
Mount the bearing plate securely. I
use a test post I put together to make windmill assembly
easier. The post site 1500mm from the ground, high enough
to spin a propeller.
|
 |
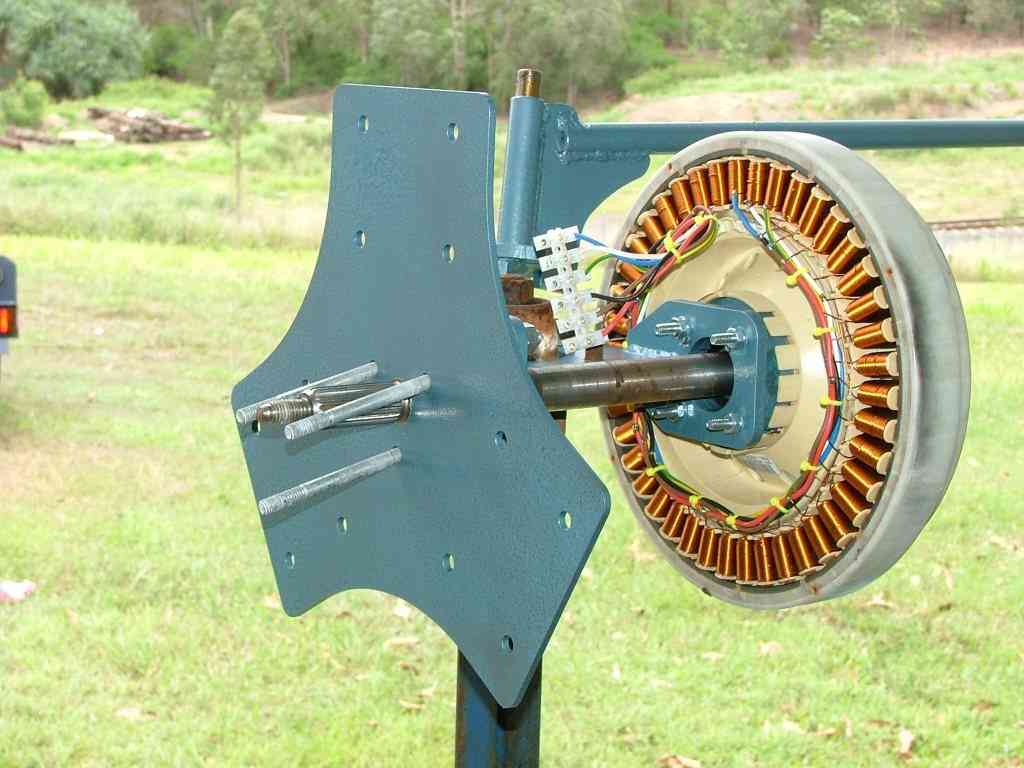
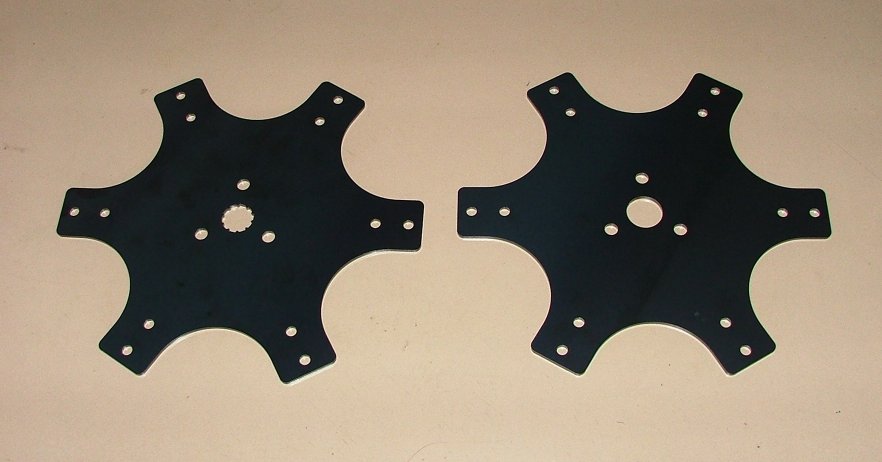
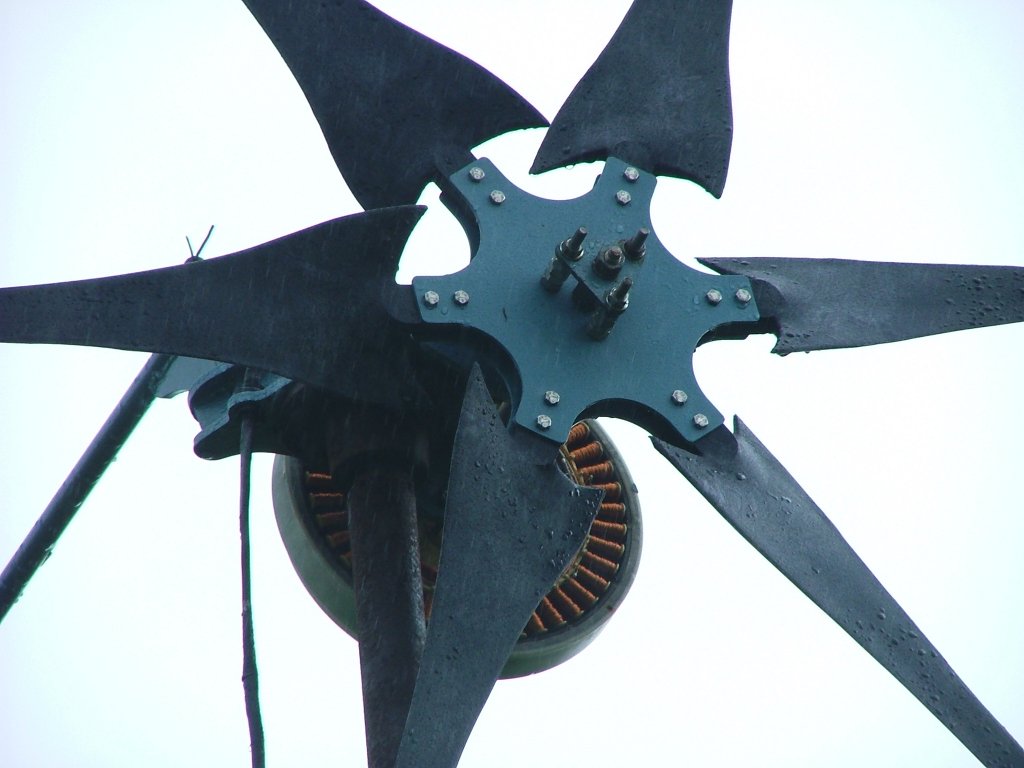
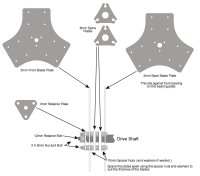
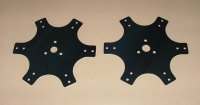
Slide the 3mm rear propeller hub plate
onto the shaft until it rests against the main bearing.
The three main bolts need to feed in from the back.
|
 |
Next slide on 3 over sized nuts to space
out the next plate. Slide on the first of the small
8mm spline plate. These may be a tight fit, so gently
tap home with a hammer and drift. Keep sliding on nuts
and plates until you have reached a thickness equal
to the propeller blade thickness.

|
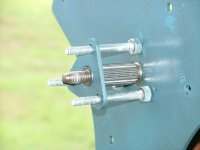 |
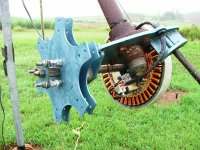
Slide on the front hub plate.
|
|
Slide on more nuts until you can fit
the front retaining plate. When you tighten up the main
propeller retaining nut, the whole assemble should pull
down tight and square. |
|
Lastly fit the blades. Spin the propeller
to check that all is true and square.
|
Balancing |
I cant stress how important this is.
A unbalanced propeller will cause a severe wobble and
loss of power. In a wind free area ( closed workshop
), check that the FULLY assembled propeller does not
have a heavy side. To do this give the propeller several
gentle spins and see if it stops in the same place,
or stops and turns backwards. If you find a heavy side,
you need to add weight to the light side.
Included with the windmill kit are 3
plates with elongated slots. These are bolted to the
back of the propeller hub and adjusted to get the best
propeller balance.

|
| If you opt for the plastic blades, the
hub is assembled as above but this time with the plastic
blade support plates. |
 |
| Make sure you space the plates apart
correctly ( approx 18mm for the EcoInn blades ) |
 |
| Bolt the blades in place using stainless
steel bolts and nylon lock washers |
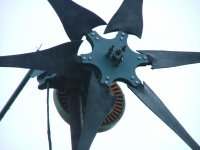 |
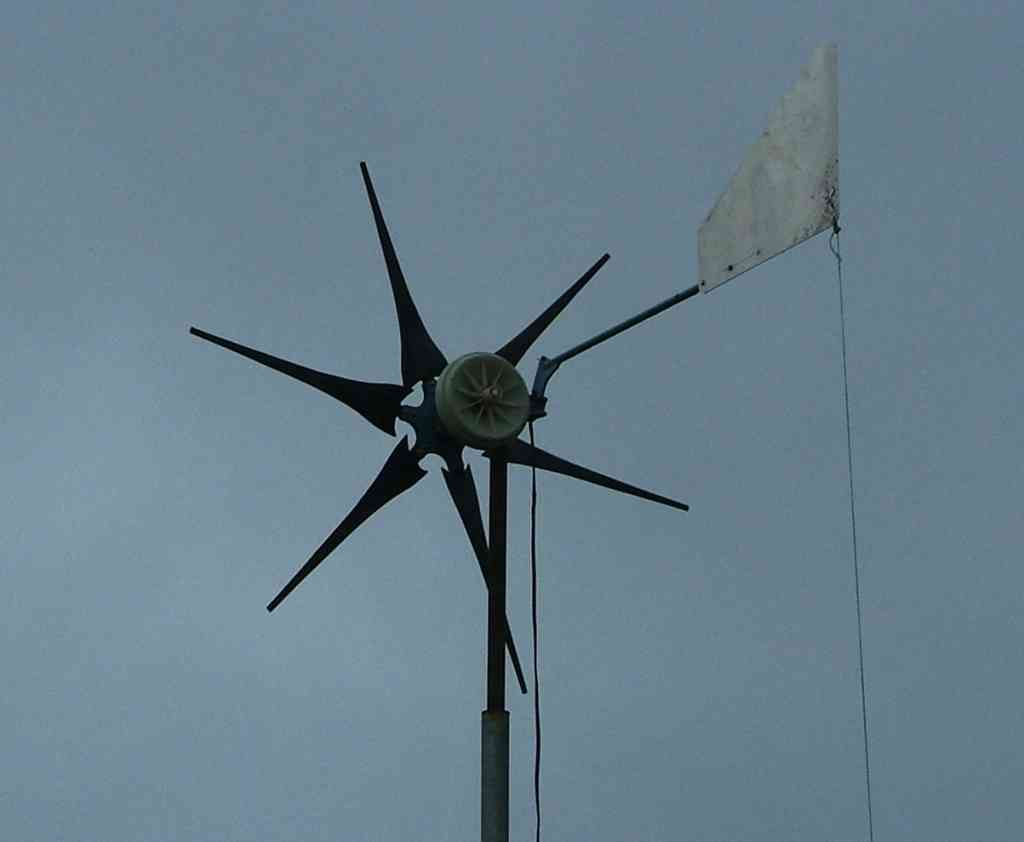
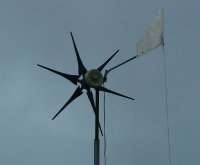
| The finished propeller. |
 |
|
|
|
|
|
|