|
|
| How to improve those cheap Chinese blades |
Page 1 | 2 | 3 |
With
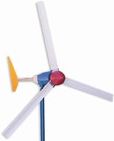
the popularity of the cheap Chinese 200 watt wind turbines
increasing, we are getting reports about the fiberglass
blades making excessive noise. So I ordered in a set
of these blades and set about improving them, not only
to reduce noise but to increase power. This first article
exlains how I modified the blades and what I discovered
along the way. Then we hear from a forum meber Kevin
and his modification to improve tracking and reliability.
The blades can be purchased for around
$120 ( Available from Foundry& Fibreglass, click here for contact details,
or you can find them on ebay ), so they are cheap enough,
and are made from fibreglass, so should be strong enough.
Length is 1020mm long, and with extensions could be
used to make a turbine diameter of 2.2 to 2.6 meters,
perfect for most small windmill applications and well
suited to the common F&P alternators.
The blades have a odd airfoil profile, maybe the reason for the excessive noise.
A note on windmill noise. There is no
reason a windmill should make excessive noise, and its
usually a sign of poorly made blades.
I ordered a set of 3 blades from Foundy
& Fibreglass and had a good hard look at them. After
a bit of a think, I came up with the following modifications.
You will need a 4 inch angle grinder
with cut off disc ( the new 1mm cut off discs ), electric
drill with sanding disc, power file or belt sander,
some wet and dry sandpaper, and personal protection
gear ( face mask, gloves, etc ).
A word of warning. Working with fibreglass
is a nasty business, the dust gets every where and makes
you itch something fierce. I made the mistake of reshaping
my set of blades in my workshop, so the dust went over
everything. Now, weeks later, if I pick up a tool or
move something in the shed I get itchy! Best to do this
outside in the open where you can hose everything down
after.
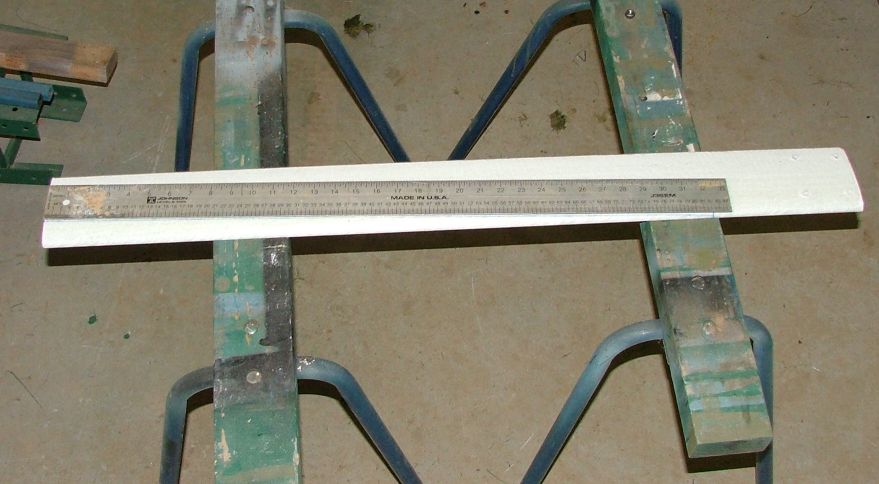
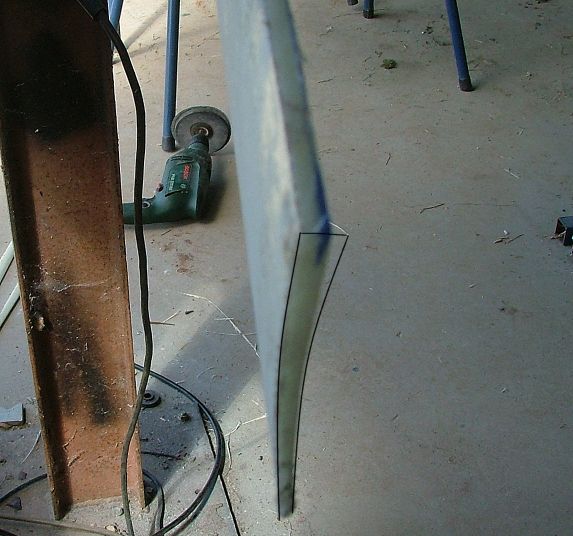
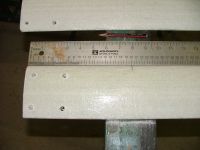
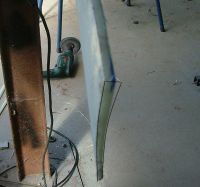
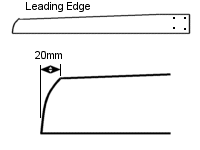
| First up, flip the blade over so
the back of the blade (lump) is facing up. On the
leading edge, measure and mark a line 200mm from
the blade root (center most part, where the bolt
holes are). |
 |
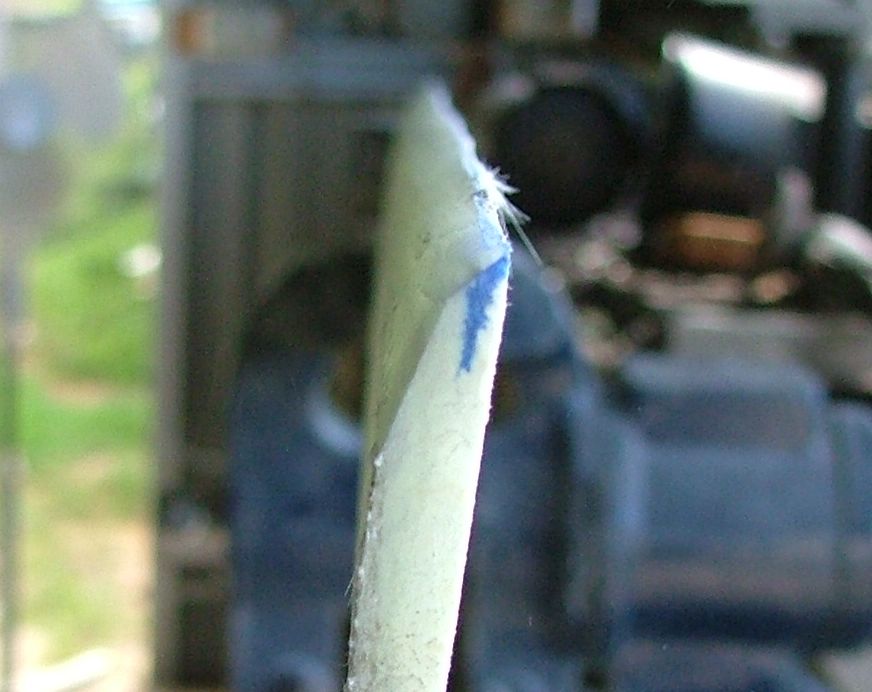
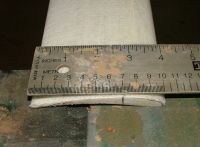
| Then at the blade tip, measure
and mark 70mm from the trailing edge of the blade.
Remember you can click on these photos for a bigger
image. |
 |
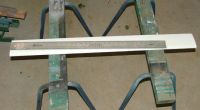
| Then using a long rule, draw a
line between these two points. This will be our
cut line. The wedge shape we have drawn along the
leading edge will be cut off. |
 |
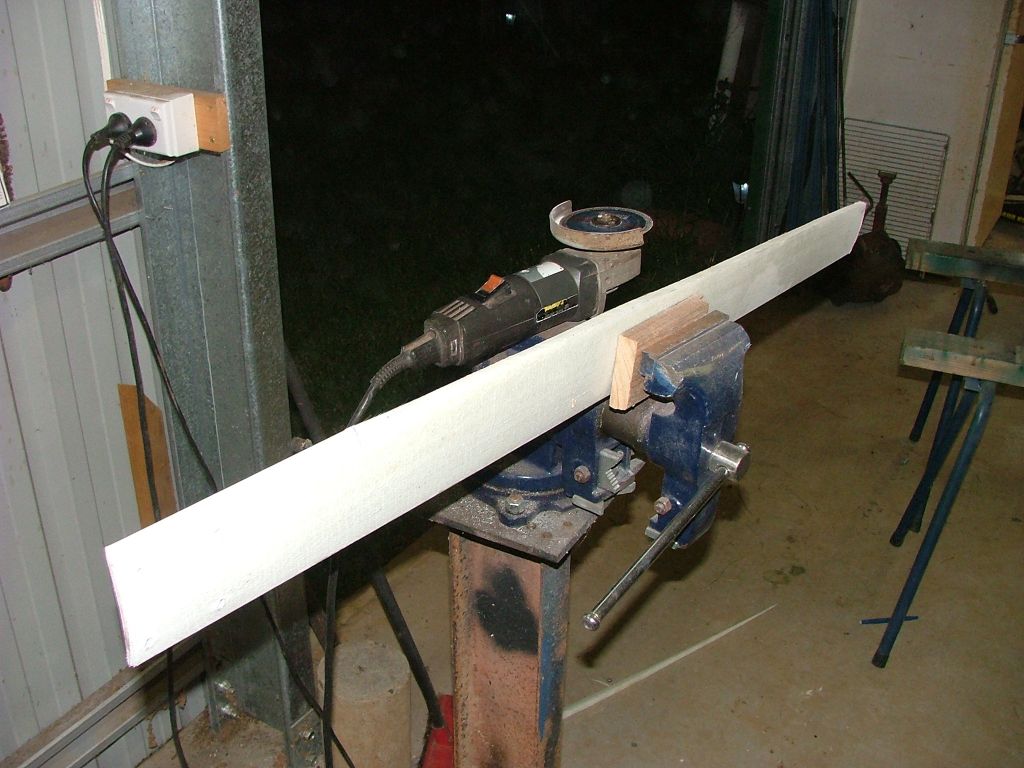
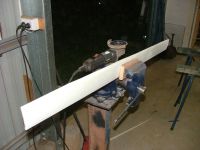
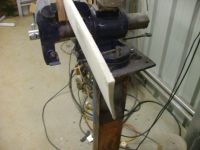
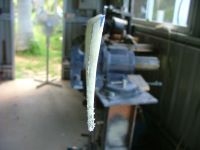
Next grab the blade in a vice
with the leading edge facing up. Use blocks of
soft wood in the vice so you dont crush and damage
the fibreglass.
I tried a few different tools
to cut the fibreglass, including hand saw, bench
saw and hack saw, all didn't work very well. In
desperation I grabbed the angle grinder with cut
off wheel and it worked a treat! There is a lot
of smoke given off, so make sure you have lots
of ventilation. I used a pedestal fan to blow
the smoke away from the work piece. |
 |
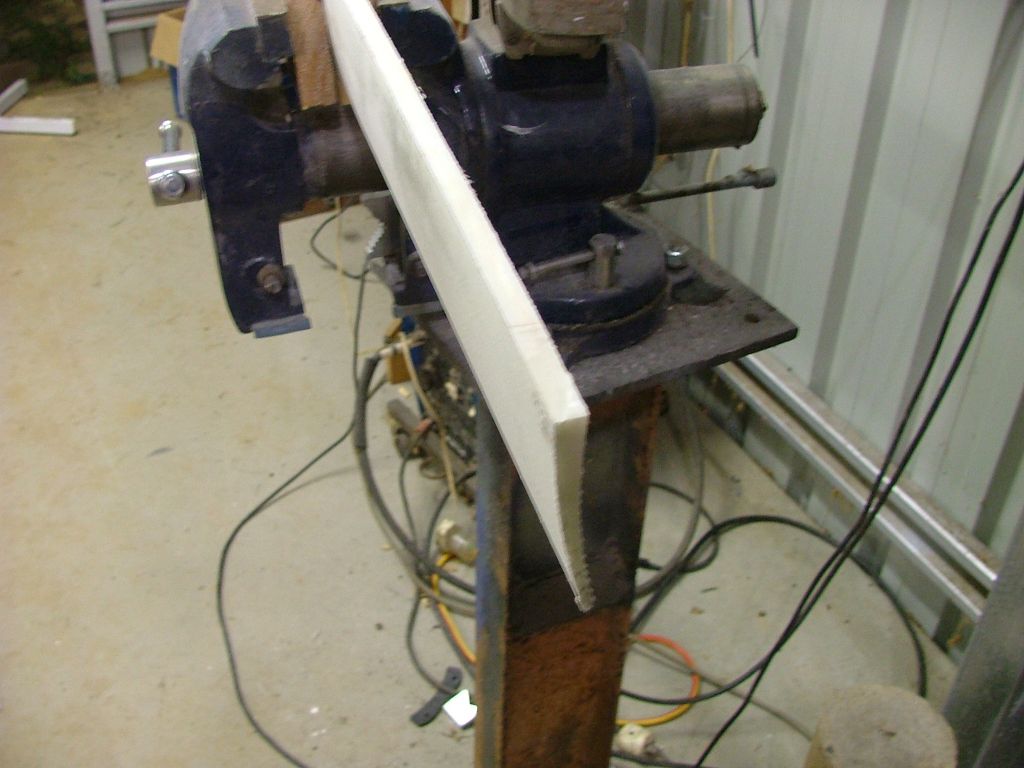
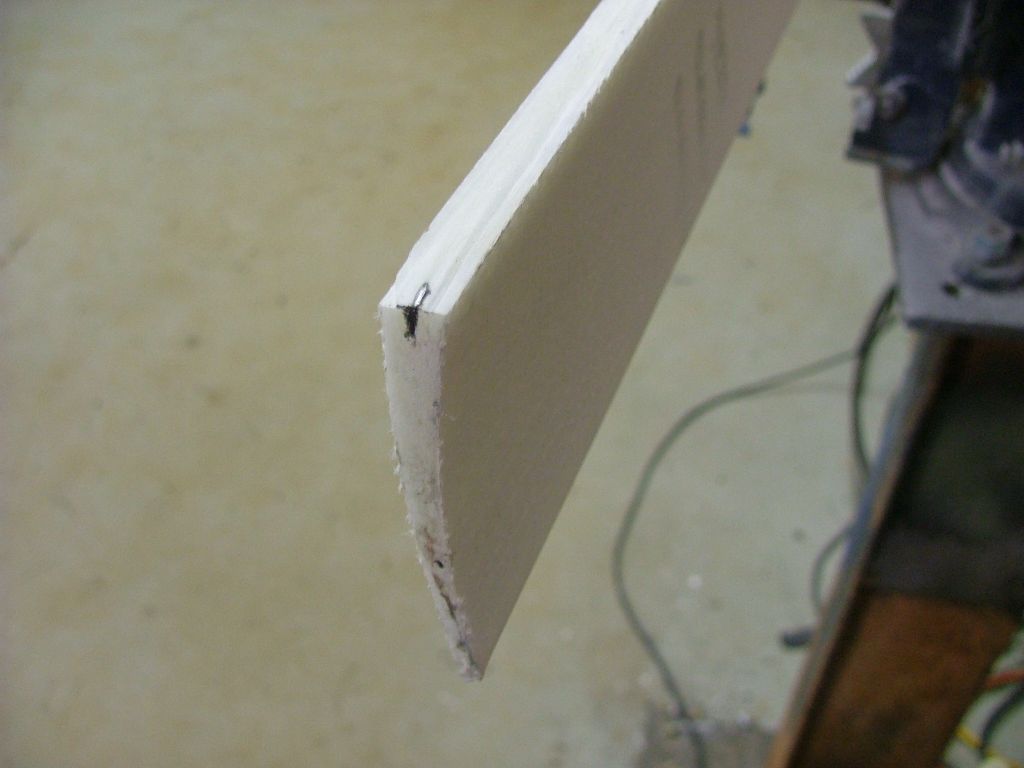
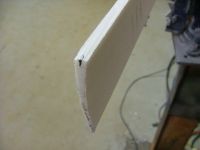
| The Angle grinder cut was clean,
and it only took about 30 seconds per blade. |
 |
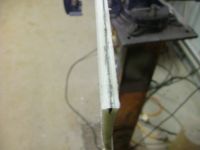
Now we need to mark out the blade
for reshaping of the leading edge.
At the blade tip, mark a line
at the middle of the new leading edge. |
 |
| Then using your rule, draw a line
from this mark to the other end of the cut line,
where it stops about 200mm from the blade root. |
 |
| Looking back at the tip, the line
wont necessarily travel along the middle of the
whole length of the cut, but this is ok. On my blades,
the line was about 3mm from the concave side of
the blade. |
 |
Next you need to grab the drill
and sanding disc, and sand the concave side of
the blade back to our mark line. We are trying
to keep the concave shape, and the round sanding
disc makes this easy. Just take it easy at first
until you get the hang of it. This also makes
a lot of fibreglass dust, so make sure you have
you mask on.
I've drawn a black line on this
image so you can see where the blade concave shape
was before I sanded it back to the line. |
 |
| Next we grab our power file or
belt sander and cut back at a 450 angle
from the leading edge, as shown. It will help if
you click on these photos to see full size. We cut
this 450 all the way back to the start
of our cut, 200mm from the blade root. |
 |
Then we do the same but this time
at about 200. Dont go all the way to
the blade leading edge, about 5mm back. As you
can see, we have something that looks like a airfoil
again. |
 |
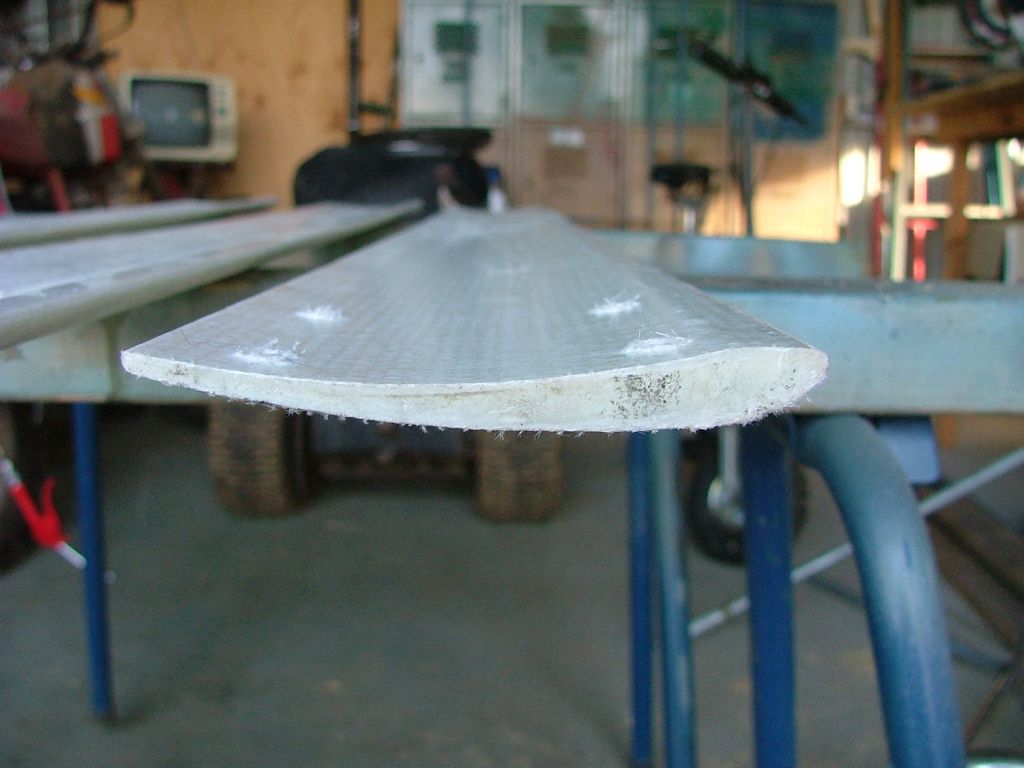
Now we need to grab a sanding
block ( or try the power file if you have the
confidence ) and sand down the edges. We want
a nice clean curve from leading edge to trailing
edge.
On the leading edge, used a bit
of sandpaper and your fingers to round off the
nose. I've drawn a black line on the image above
to show the best shape, and also shown is a unmodified
blade for comparison. |
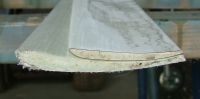 |
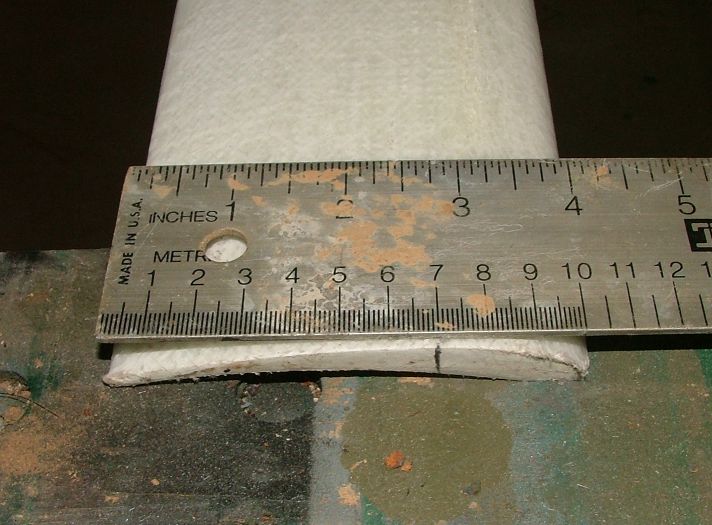
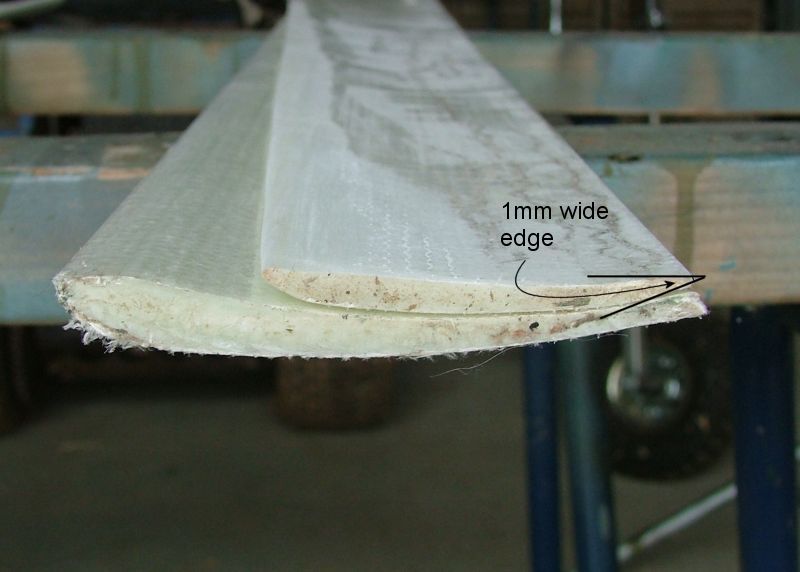
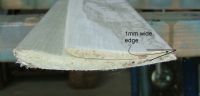
We also need to clean up the trailing
edge of our blade. From factory the blades have
a rounded trailing edge. Use you sanding block
to give the trailing edge more of a point by sanding
the top and bottom surfaces, but dont go too far,
leave the trailing edge about 1mm wide for strength. |
 |
| I've also reshaped the blade tips.
No real science in this, but I've seen this sort
of profile on the large windfarm windmills, and
I know those guys are very concerned about windmill
noise, so I assume this shape works. |
 |
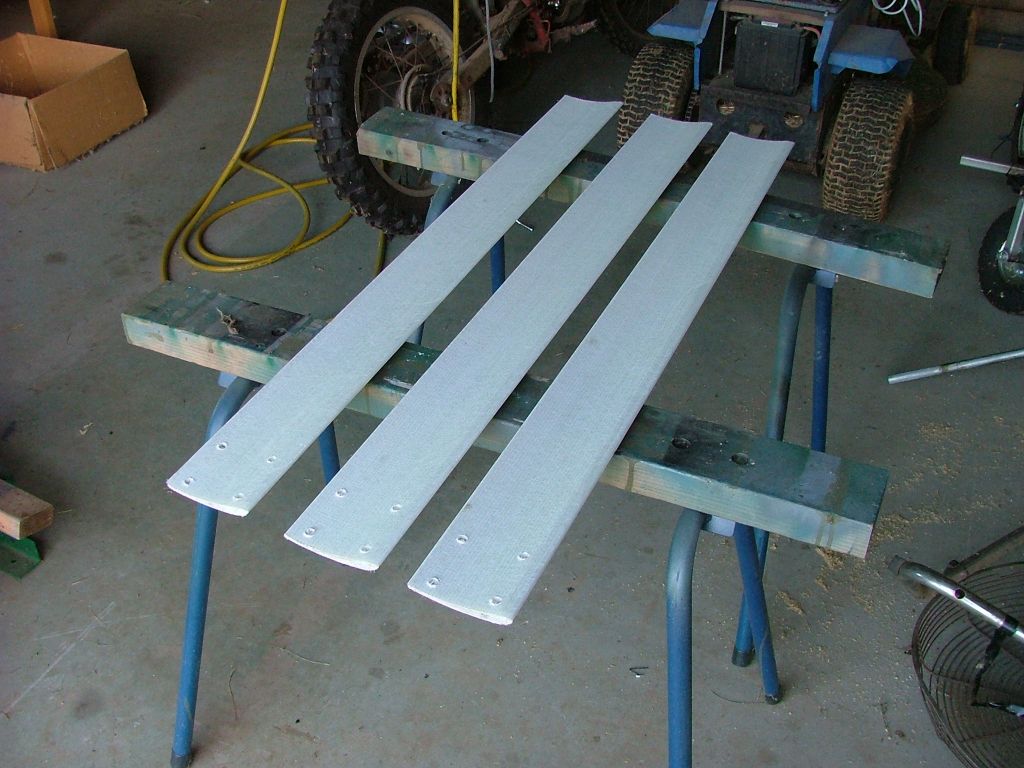
| The finished blades are very fury
with fibreglass, so I painted my blades and then
sanded with 800 wet and dry paper to remove the
fibreglass hairs, then another coat of paint. |
 |
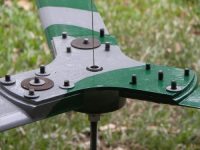
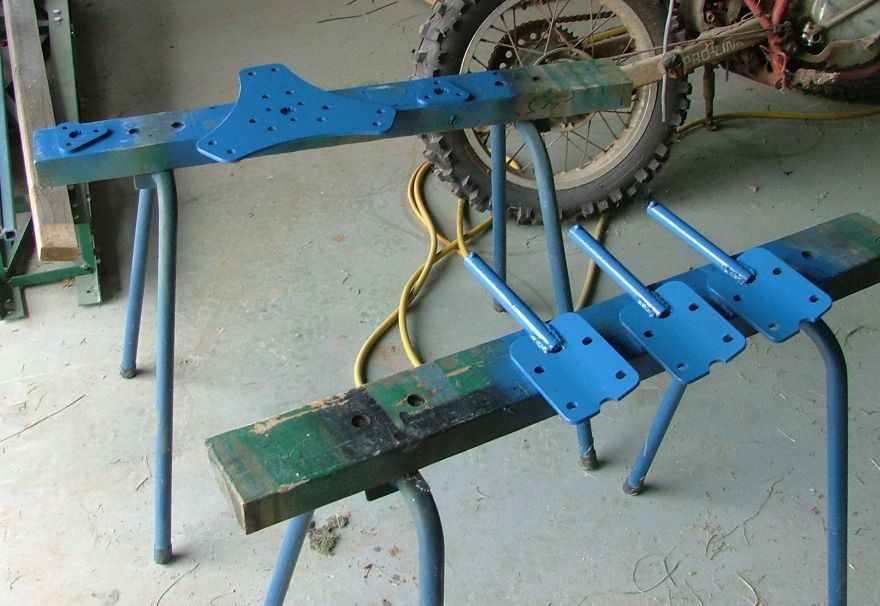
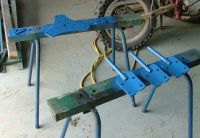
| This is the hub I made to match
up the fibreglass blades with the F&P drive
shaft on my windmill. I wont go into the details
of this as its only a prototype design. |
 |
|
|