|
|
| Make your own Solar Panels! |
Page 1 | 2 | 3 | 4 | 5 |
 Back to Page 3. Back to Page 3.
Later I turned the sheet over ...... with mixed results. The logo writing wrecks the visual impact because of the blue and red .... oh well too smart too late.
Now the next part is critical to success..... yes the plastic bag and wicking material
2.5m x 1.5m plastic bags don't grow on trees over here, so we need to build our own easily and quickly.... and it MUST be airtight.
I did have a roll of plastic sheet donated from a farmer. It was 2m wide and a million meters long.... (hot house plastic I think it was designed for) so I cut off 2x 2.5M bits of it and laid them on the table one on top of the other.... Now we just need to seam them. We can use a straight edge.... for no other reason than to limit the heat damage we are about to do.
Place the straight edge about 1" in from the edge of the 2 pieces of plastic laying on the table. Grab a heat gun, and heat the plastic edge, running up and down the straight edge quite quickly. The plastic will start to melt in that 1" zone. Move the straight edge onto the 1" melted zone, and it will cool it rapidly, and seal that zone..... like this:
|
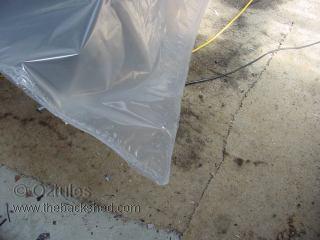 |
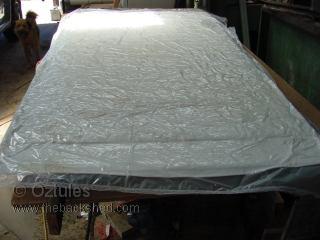
We then end up with a huge plastic bag, with very little effort. We can seal the open end after we place the cell inside of it.
Here is my plastic bag:
|
 |
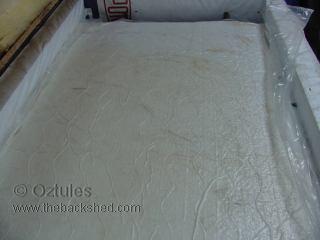
Last time I used shade cloth for the air wick material, this time I found an old dooner, which will allow for reasonably free air movement. This is key to no bubbles... as well as no leaks in the bag. Shade cloth shrinks with the heat and distorts the cell layout, the dooner did not... avoid shade cloth is the moral here.
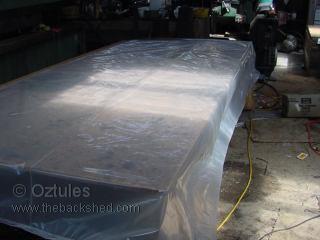
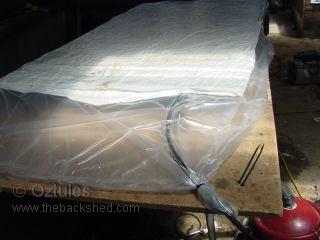
Bagged up, and the vacuum starting to take up the slack, we get to this: |
 |
| We can see how I have sealed the end of the bag now, and placed the vacuum hose into the dooner cloth. NOT on the cells themselves....... yep, it's all starting to happen about now. |
 |
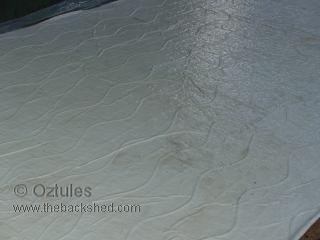
and nearing vacuum condition, the dooner is now flat as a pancake:
NOTE WELL: the weather was hot, and the cells small, so this did not crack the cells. If it is cool, or the cells big, or your tabbing is less than flat..... do this stuff in the oven after heating it up to about 50C..... not just the air to 50C, but the glass..... slow is good. I put the temp probe against the glass (underside between the glass and the rails holding the glass up in the oven) |
 |
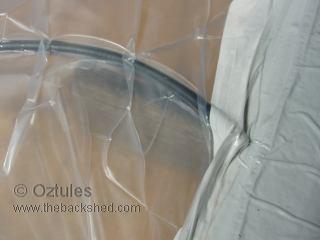
Here is a close up of the hose going into the cloth: |
 |
Now we have to manoeuvre it into the oven
The whole lot was under vacuum for about 15 mins before I started the heater. It slowly climbed up to 105 degrees or so, and so I ran it for 70 mins... better more than less, or glass adhesion may not be complete.... and thats it.
There is nothing more that can be done now.... but wait... and wait.
After about 70 mins, I turn off the heater, pull back the lid of the oven, and let it cool off. |
 |
Before it gets too cool, it is wise to get it out onto the table and undress it.... the EVA runs where ever it can, and some may stick to things you don't want it to stick to (the dooner for one)... so rip off the plastic bag and free the dooner as soon as practical. The eva will still be a bit soft at this stage... be careful, as you can upset the glass adhesion if your not careful at this point... and you can remove some from the edge or whatever. When it cools and the curing is finished.... It is tough stuff, and if cured will have stuck to anything within reach
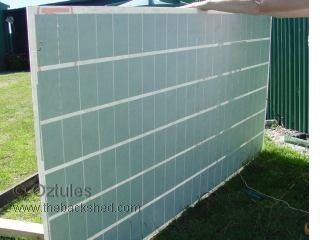
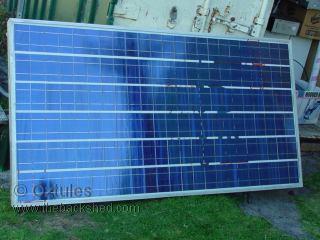
So now we have our panel and it looks like this |
 |
| and this |
 |
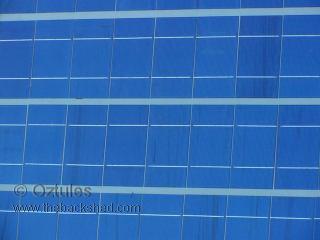
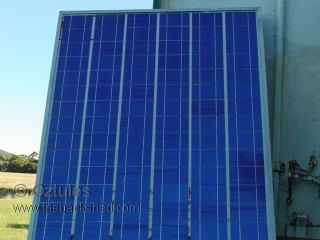
| Up close like this: |
 |
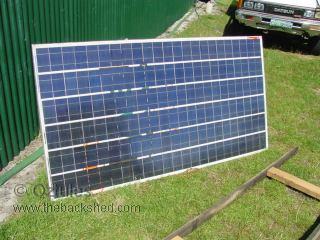
| When placed back into it's frame/jacket it's like this.... fairly respectable really |
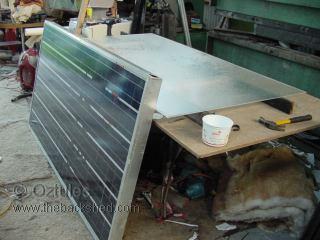 |
| and the rear like this. |
 |
It really is a big panel, and I don't think there is much point going bigger. This one does about 250 watts. It's max power V is at 34.5v, and max power I is at 7.5A
Short circuit current is at 8.3A and open circuit voltage is 40.5.
It will be used as a water pumping panel with V set at 32v and current whatever it can do according to the sun... hopefully lots of 7.5A would be good. This will derate it to about 240W |
 |
Yes I know the tyvek writing makes it look bad, but apart from that it is a very successful panel.
I hope this inspires some folks to have a go now that there is a way to mimic the big boys without the fuss. |
 |
Not bad for a days work I guess. Now I use the 6x6 cells. 66 cells per panel. These are pretabbed front and back (short tabbed).... with these 500watts per day is achievable
Page 5  |